
Hello, and welcome to part two of my 3D Resource Guide. If you missed part one, check it out! Today we are going to go over modeling. Modeling, the foundation of 3D skills, is the first thing that everyone learns. It’s also the first thing everyone notices in games. So let’s jump right in!
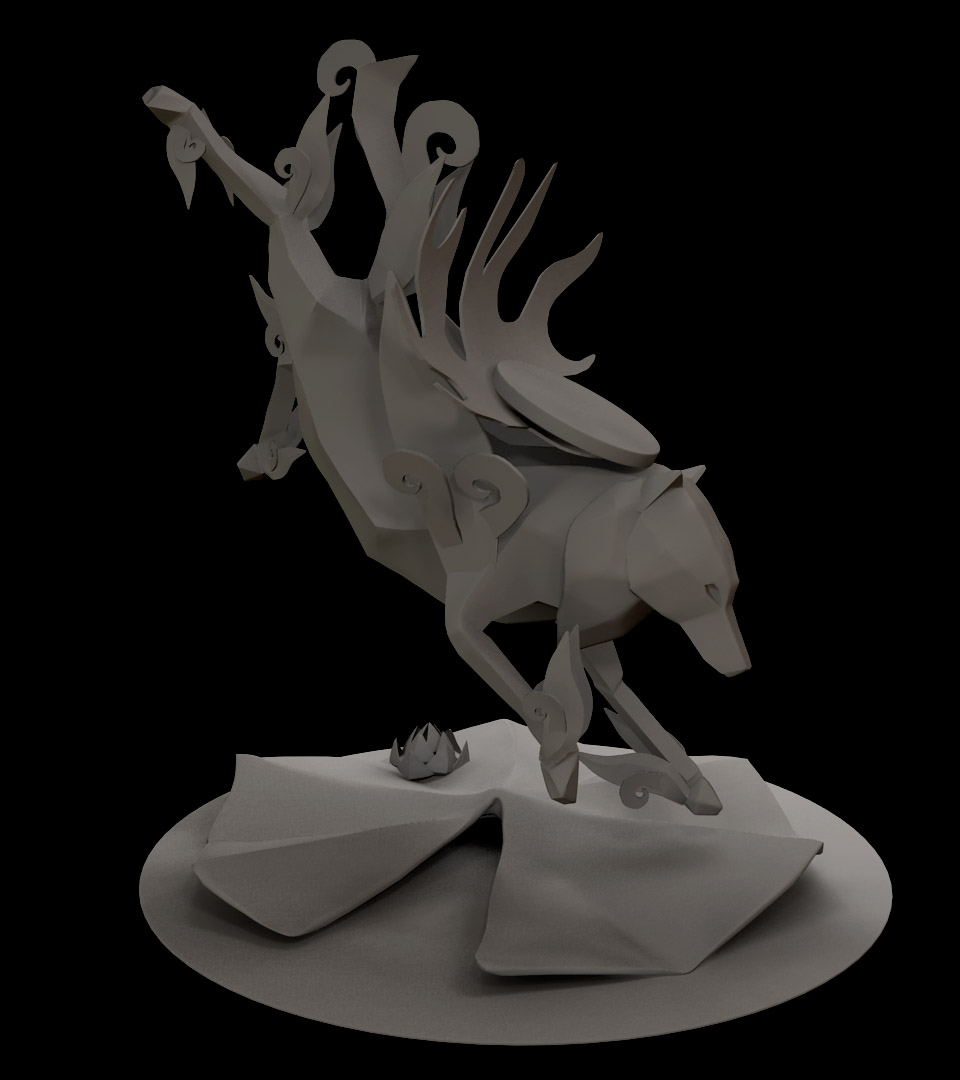
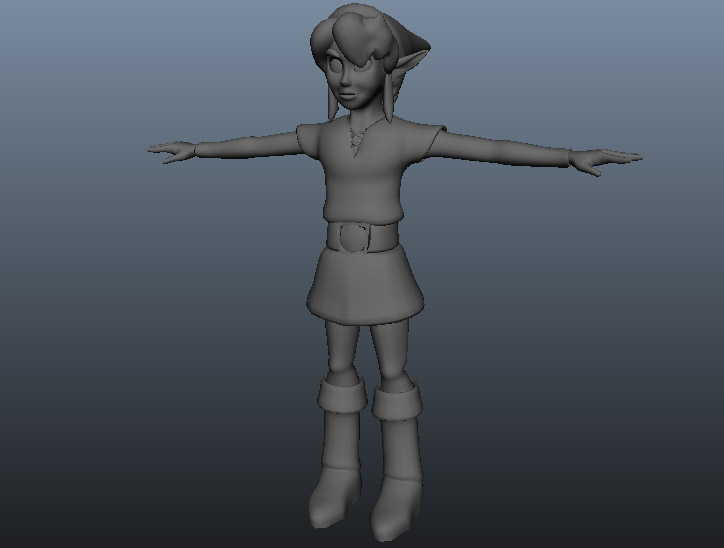
First of all, most people like to break down modeling into two categories: organic and hard surface. Both are self-explanatory. Organic Modeling references anything…well, organic, from people to animals and plants.

Hard surface is anything mechanical.

Personally, I prefer splitting 3D modeling into three categories: organic, environment, and hard surface.
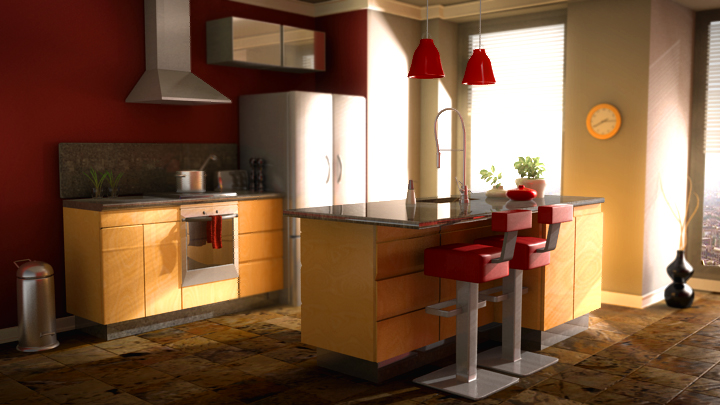
Environment modeling is exactly as it sounds – it’s a model of the environment, indoor or outdoor.

Organic Modeling
As you may have guessed, modeling people can be tricky. We see people every day, and can tell when even the slightest thing is off. It’s even more difficult to capture the likeness of people when there’s a computer involved. But there is a structured way to model human characteristics by using edge flow.
By using edge flow, you are making sure the edges of your model line up with the muscle structure of a person.
Here is a brief diagram below:

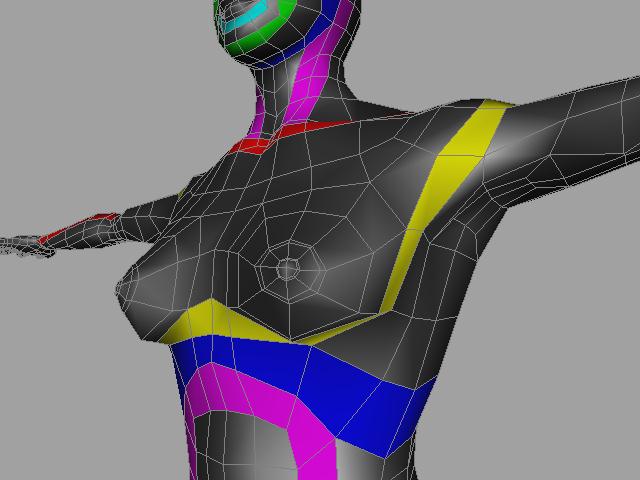
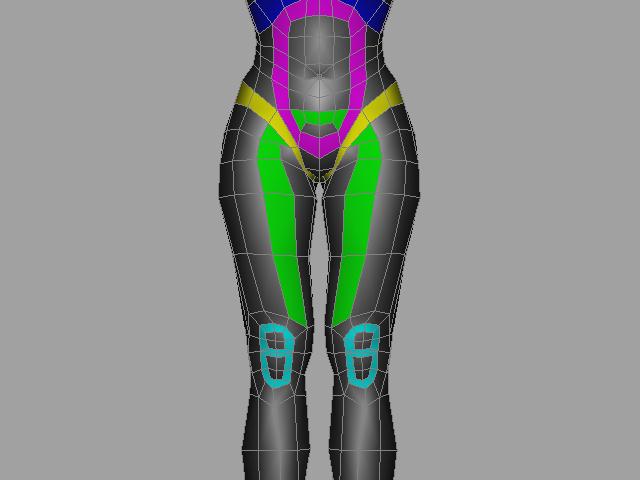
When you use proper edge flow, the model looks more human-like without adding more polygons. In other words, once it’s time to begin animating, it’s much easier to make the model move realistically.
Here are some examples of good vs. bad topology.
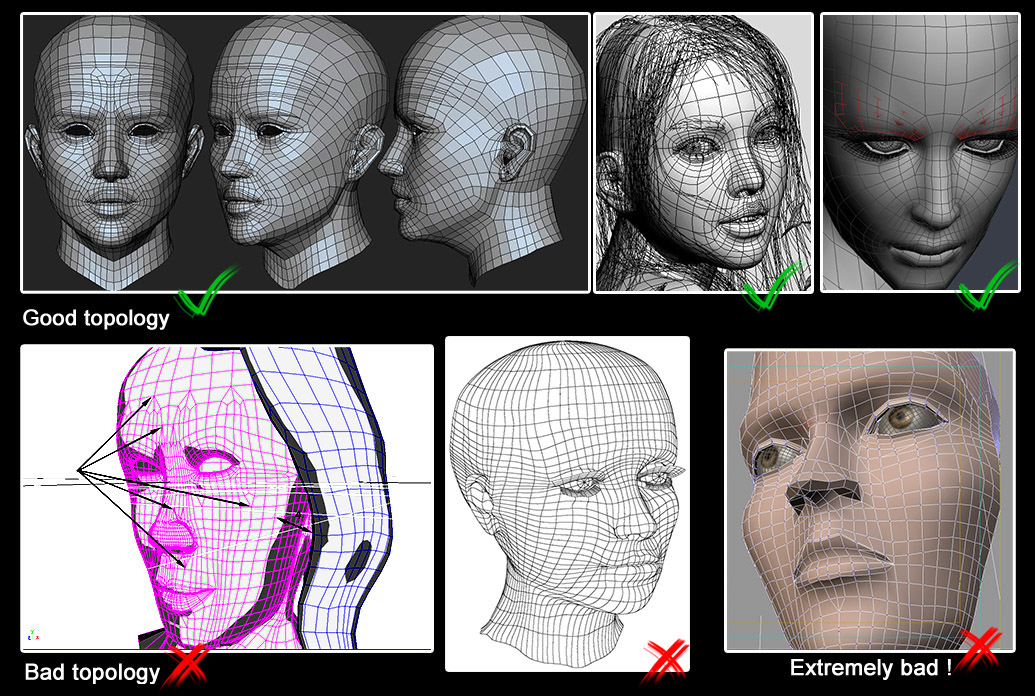
Image courtesy of Phungdinhdung.com.
Getting started
So how do you get started? Where do you go to learn? And what should you model first?
Let’s start with something simple. I’m going to show you how to model a living room in Maya. It’s a great way to familiarize yourself with the 3D program you chose and to learn about the modeling tools. We’ll only be using two to three tools max.
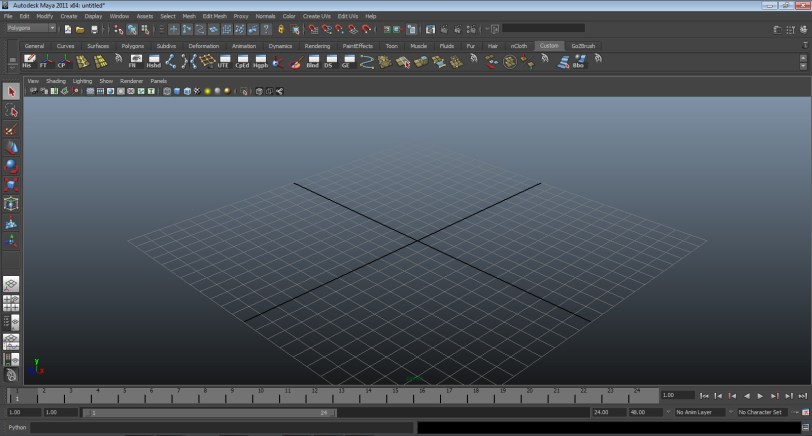
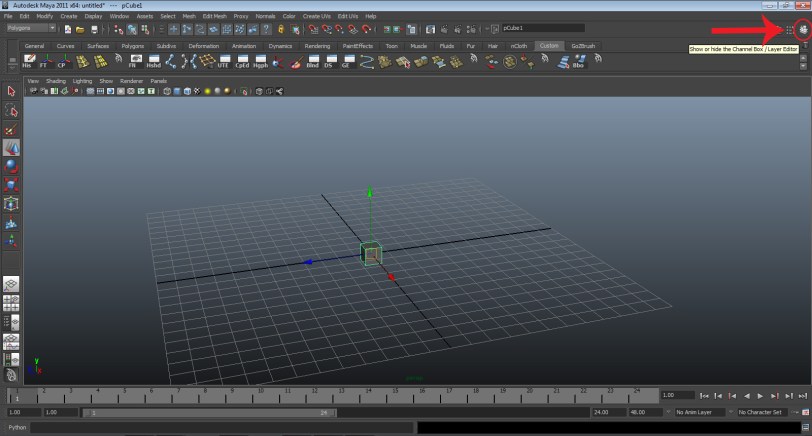
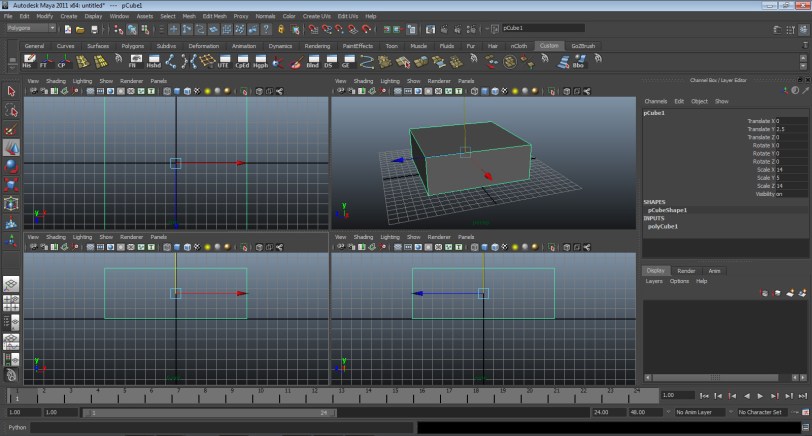
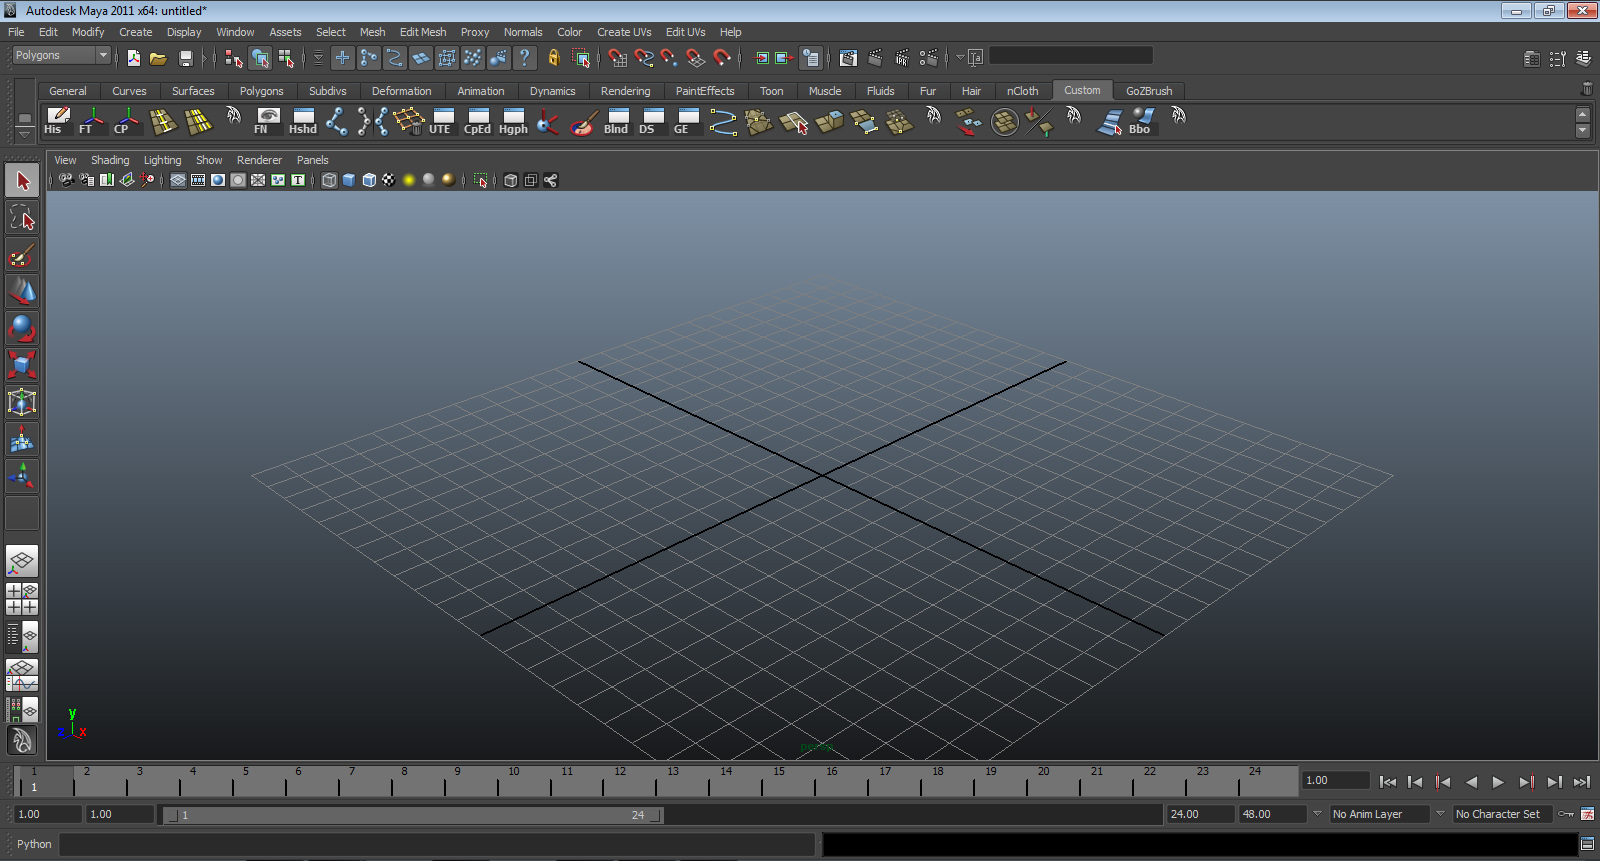
- Let’s start with a fresh and empty scene. Open Maya.
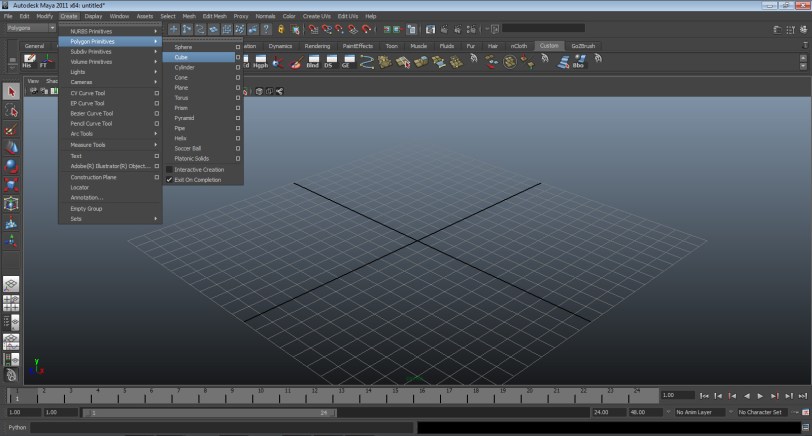
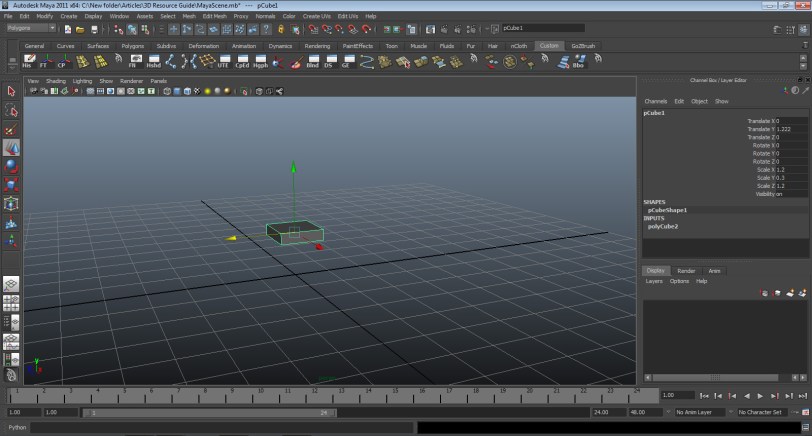
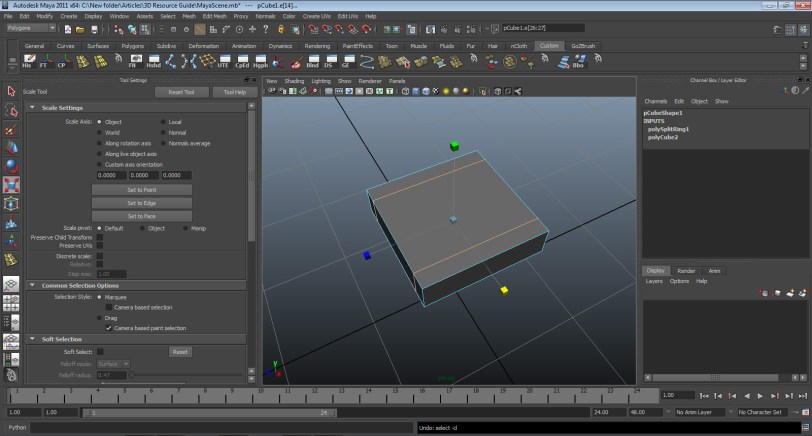
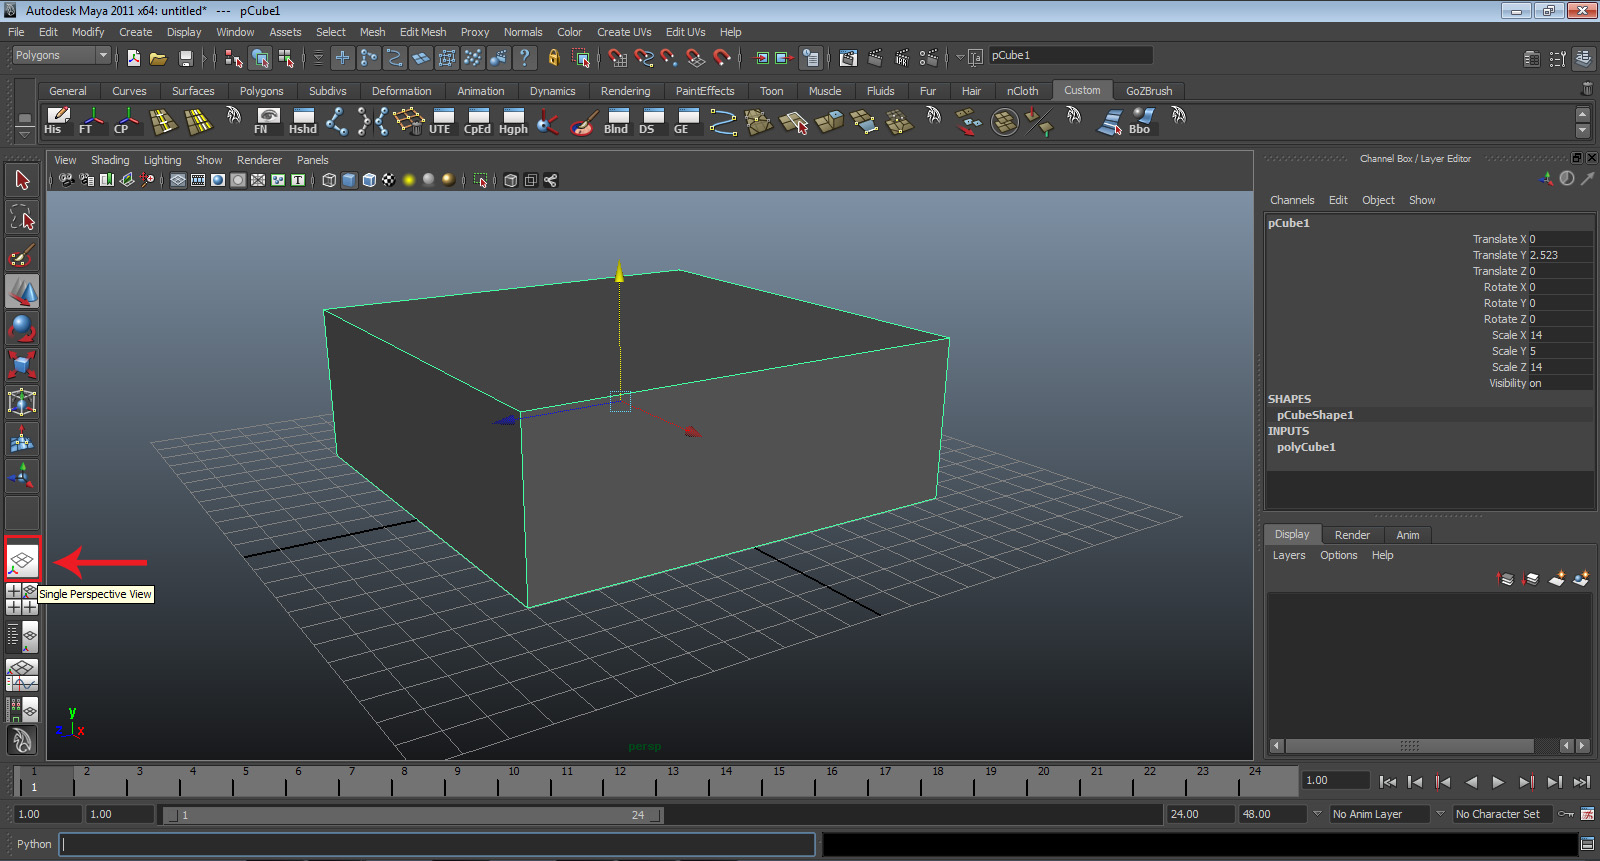
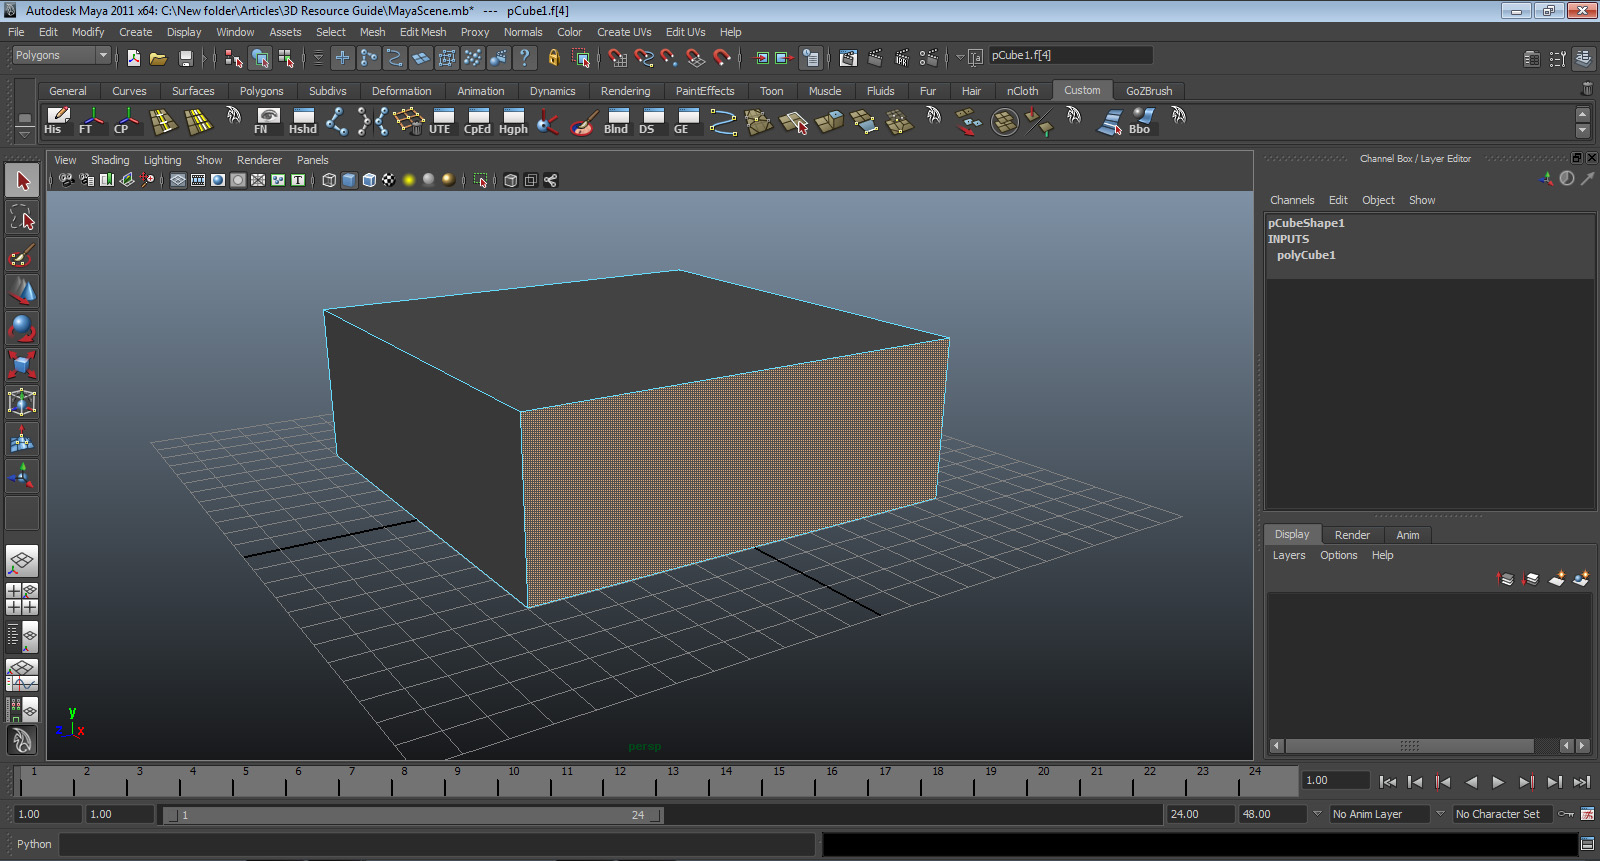
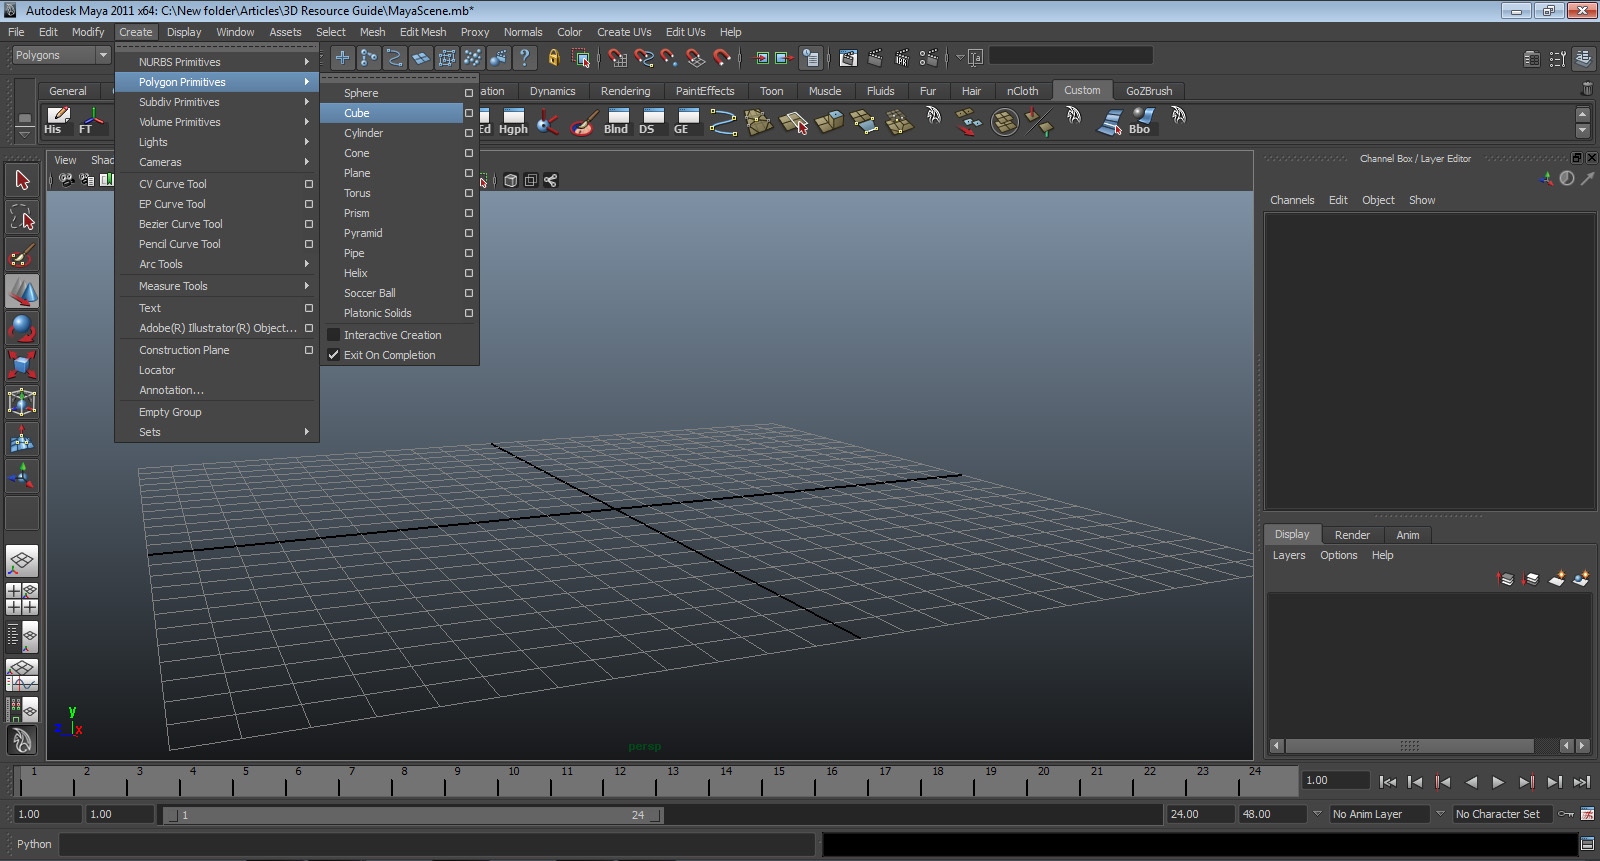
 Next, we’ll need to create the room. Go to the top menu Create > Polygon Primitive > Cube. A cube will be created in the middle of your scene.
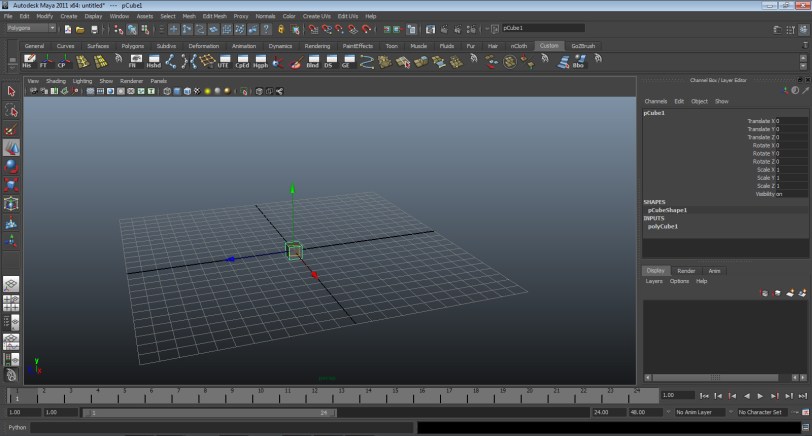
- Select the cube and go to the upper right hand corner and select the channel box. The channel box will open, showing its transform, rotation and scale attributes.
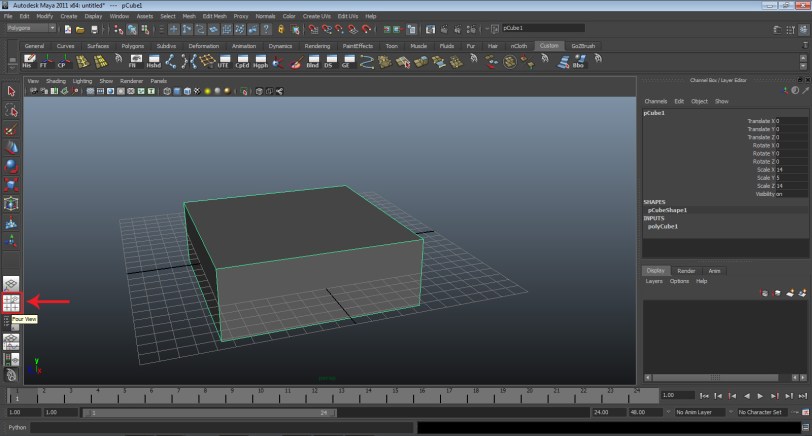
- Go to the scale attributes. Type in X: 14, Y: 5, Z:14.

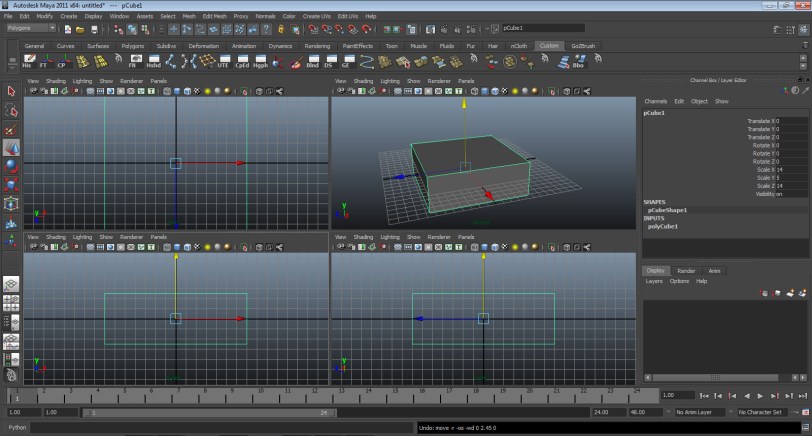
- As you may have noticed, the cube is clipping the grid. Let’s fix that. Go to the left panel and select four panel view.
.
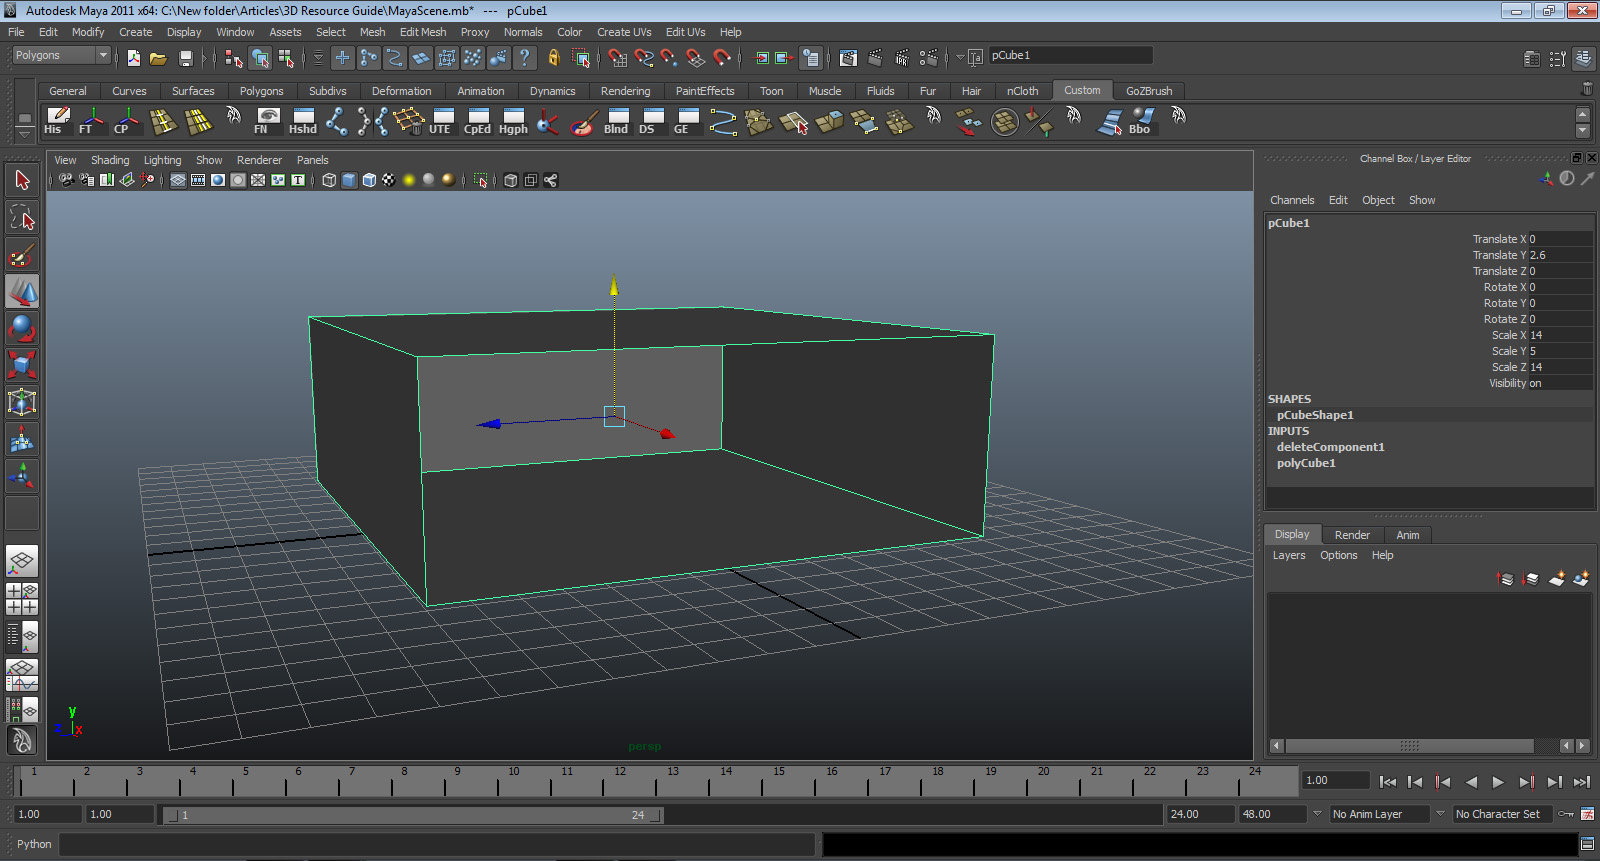
- Select the cube, in either the front or side panel, press “W,” grab the green arrow, and move the cube until the bottom of the cube is lined up with the dark black grid line.
- Let’s head back into perspective mode. Go to the left side bar. Above four panel view is the perspective view. Click that. Now you’re back in perspective view.

- Select the cube, right click, and hold select face.
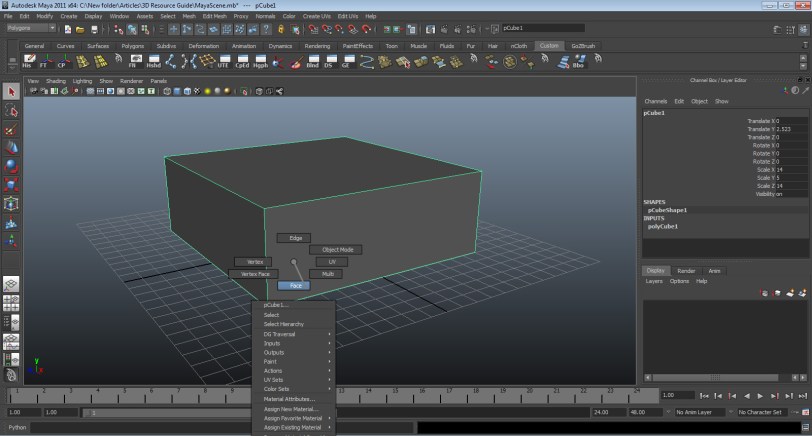
- Select the front face and press deleted. Now we can see inside.

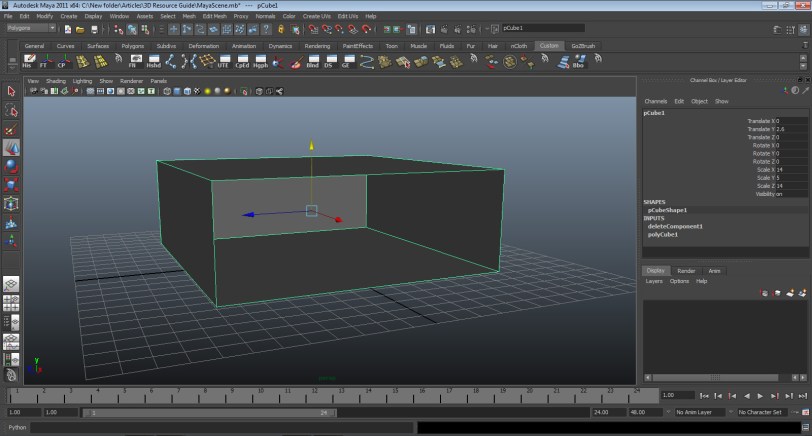
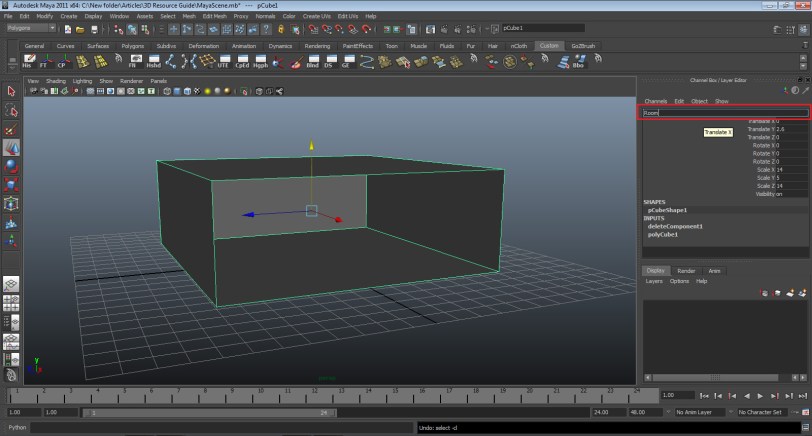
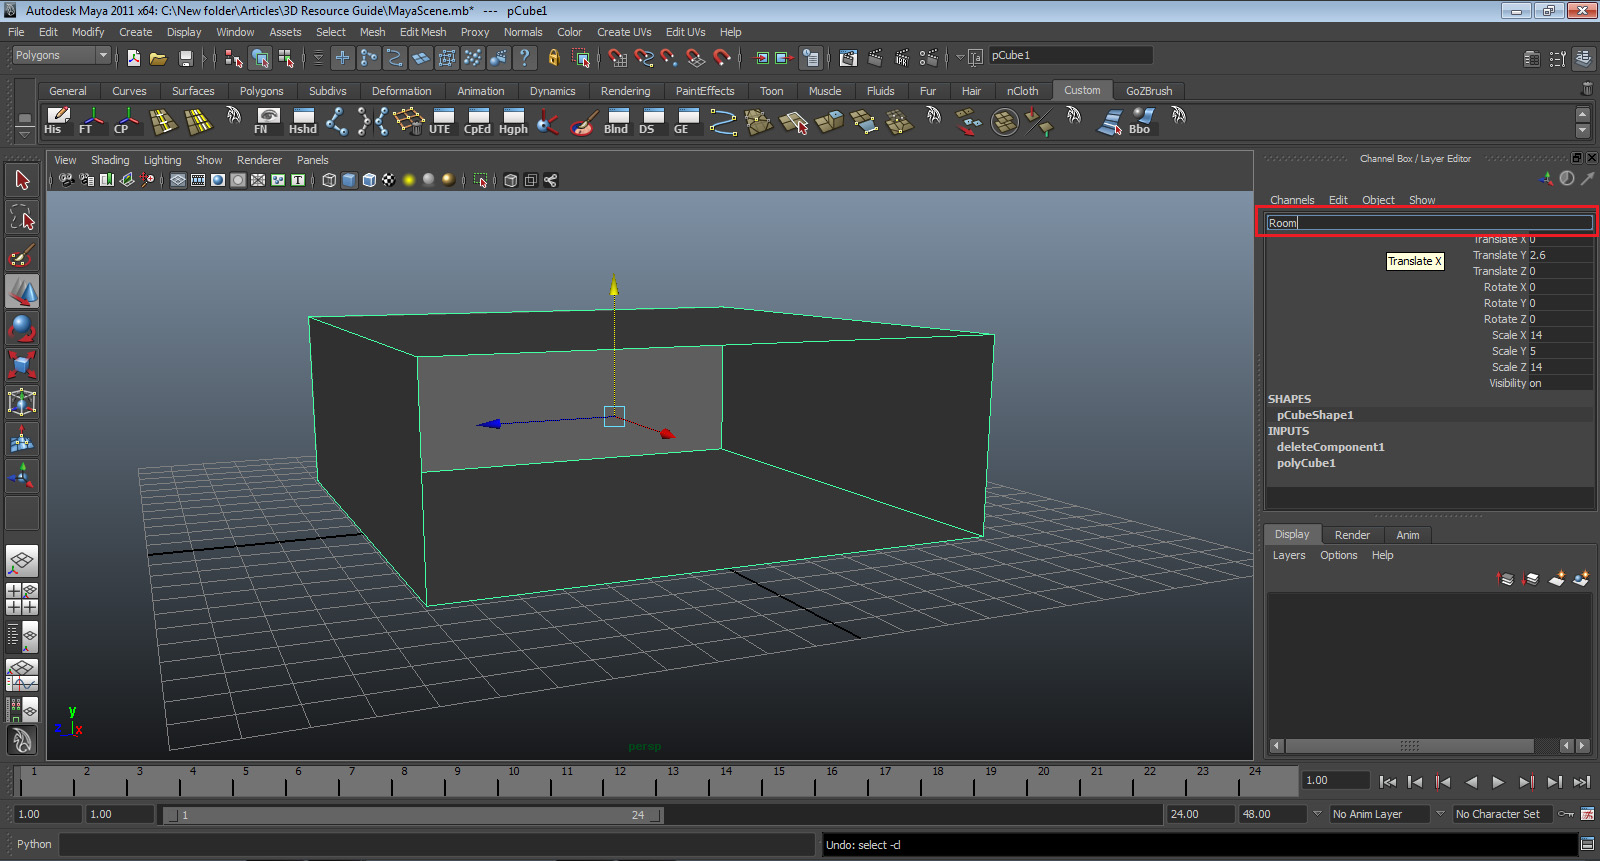
- Let’s name our cube. Go to the channel box, where it says pCube1. Double click it so you can change the name. Rename it to “Room.”
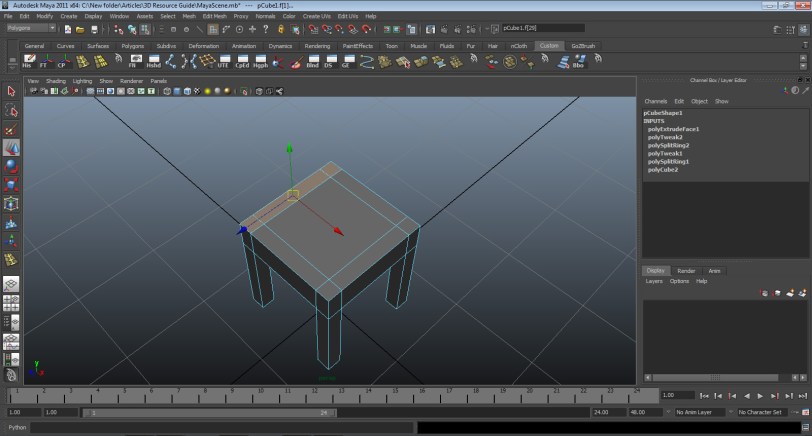
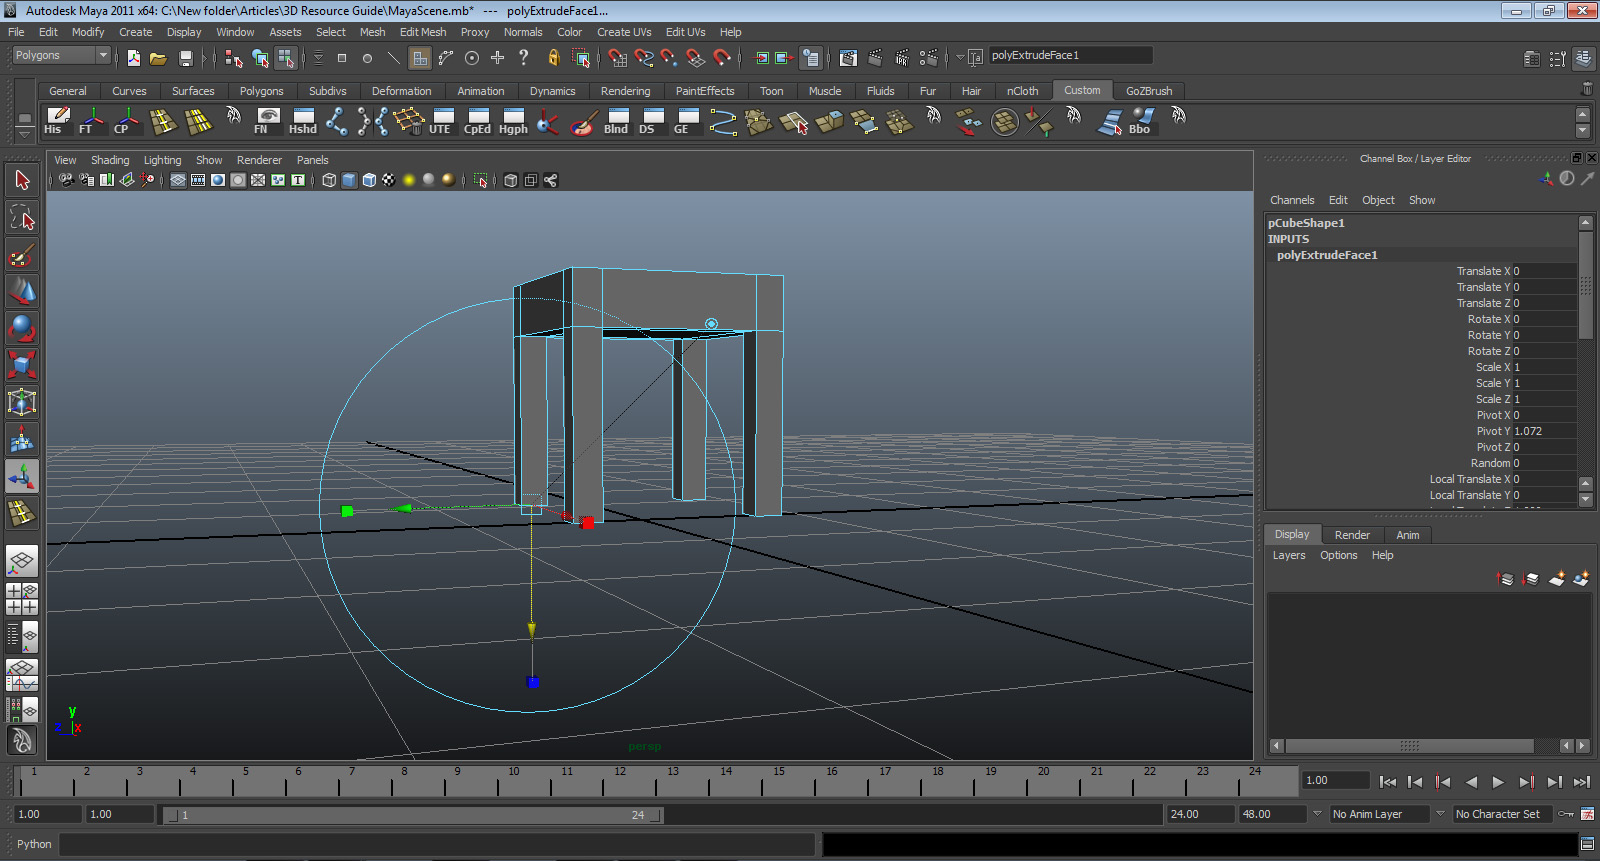
- Now, we’ll populate the room with furniture. We’ll start by making a chair. First, hide the room cube by selecting it and holding CTRL + H.

- Go to the top bar and select create > polygons > cube. Press “W” and move the cube so it’s not clipping the grid. Then go to the channel box and change the scale to X: 1.2, Y: 0.3, Z: 1.2.
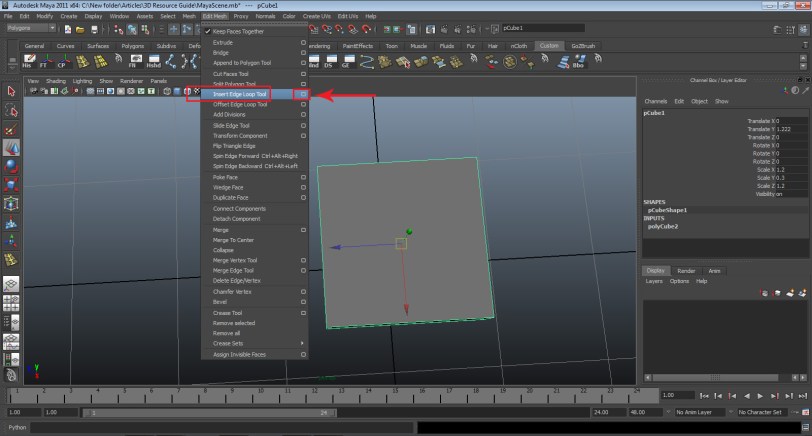
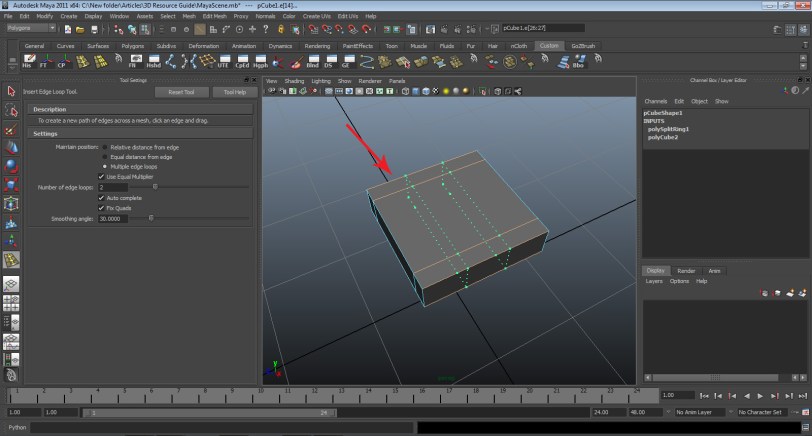
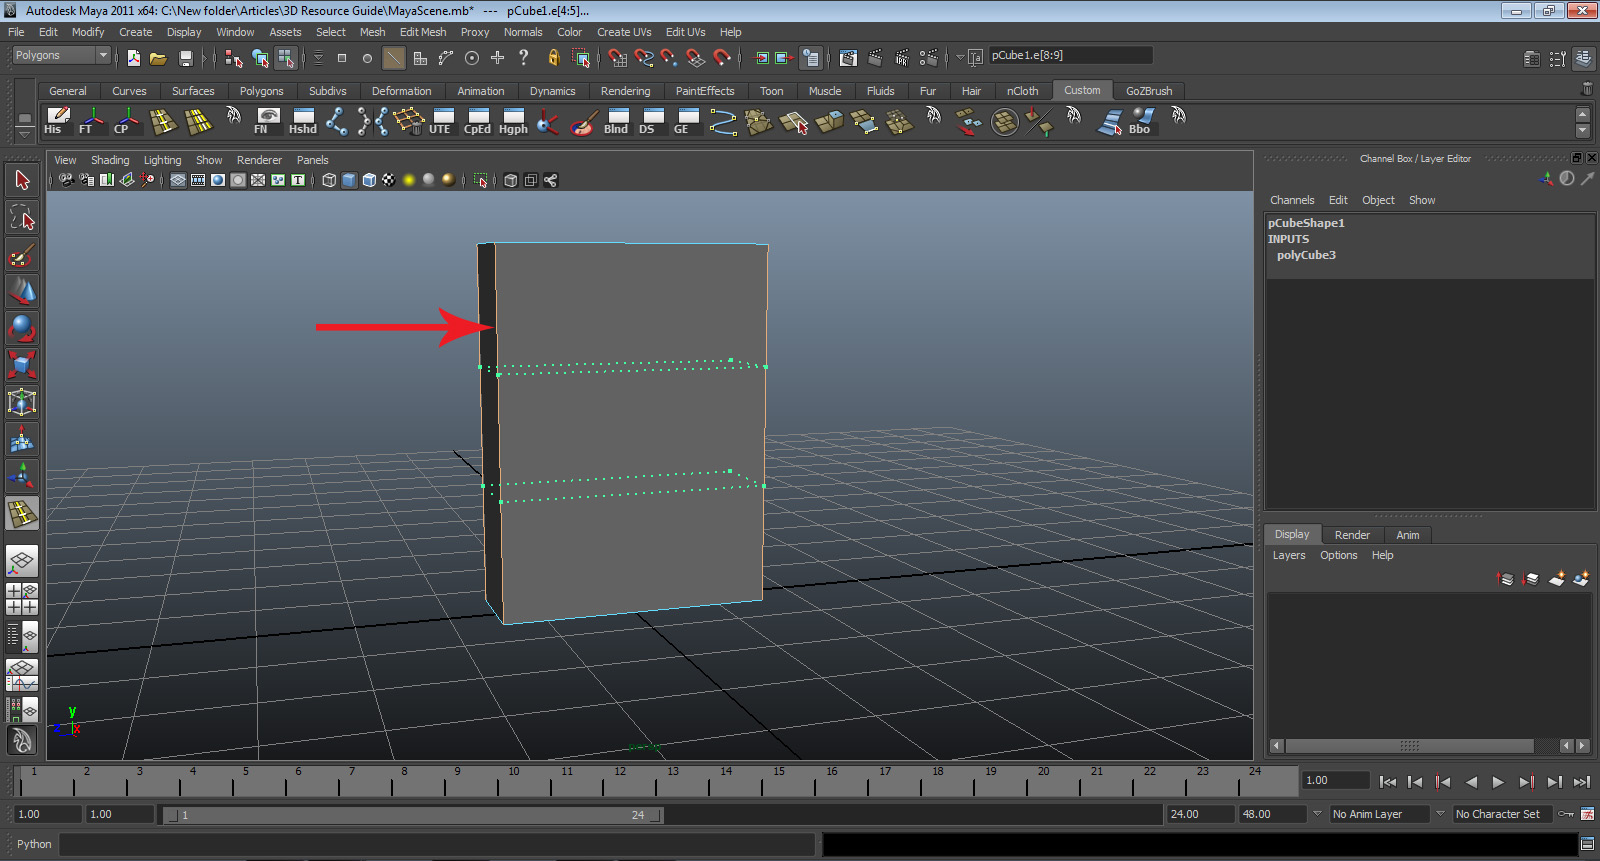
- Now we’ll make the chair legs. Go to the top bar and select edit mesh > insert edge loop, then select the SQUARE next to insert edge loop. This opens the insert edge loop options.
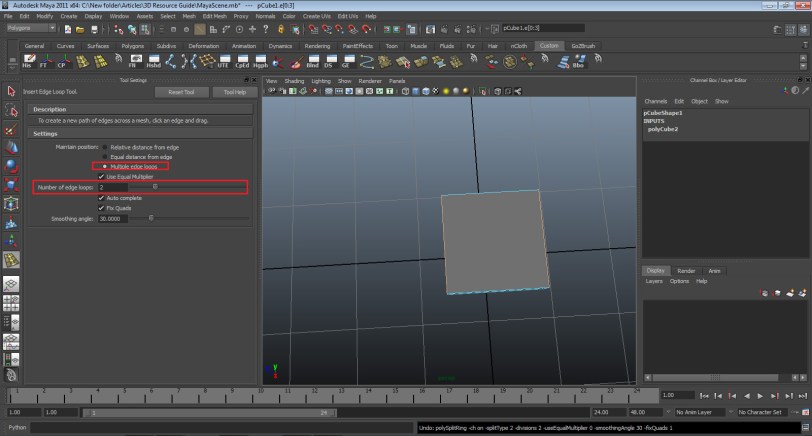
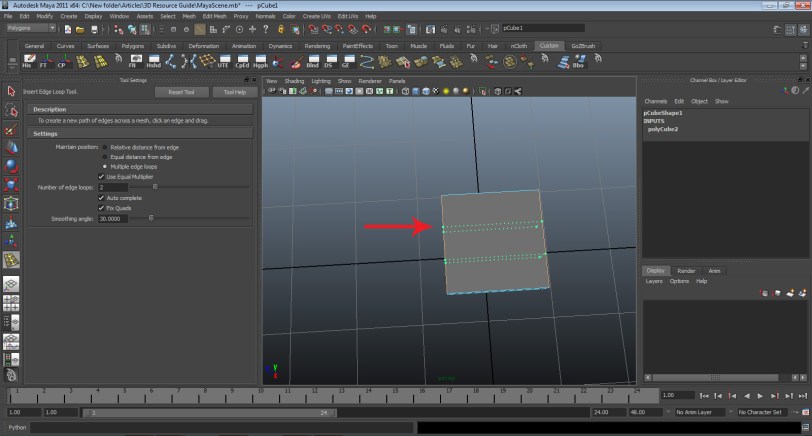
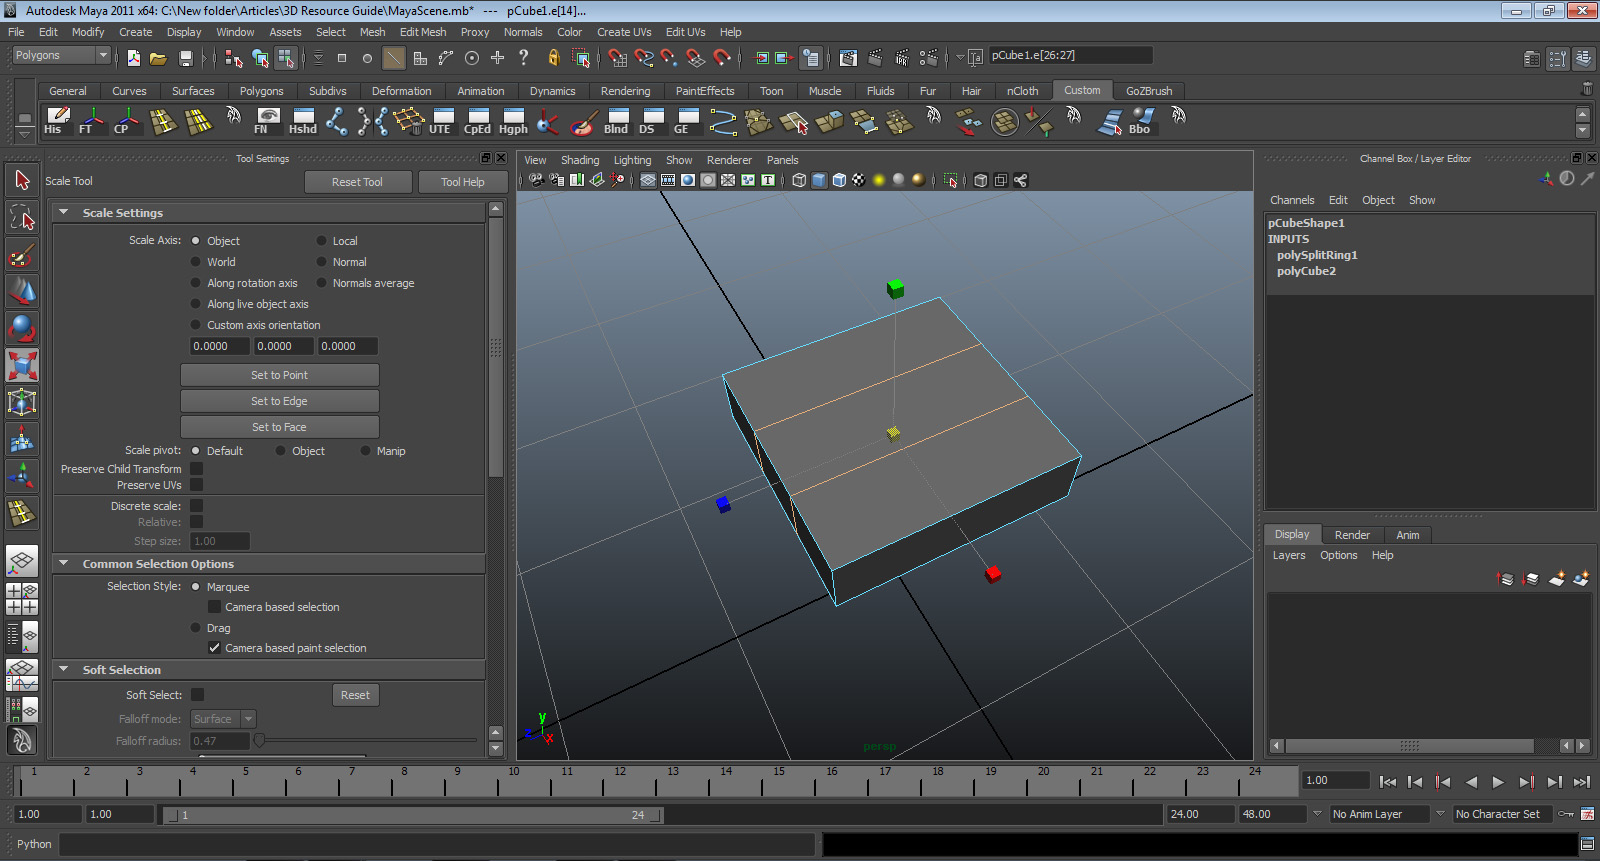
- In the options box under Settings, select “multiple edge loops” and the number of edge loops is set to two. Then go to the model and select one of the top edges. Two edges will appear. Release the mouse so they’ll be added to the model.
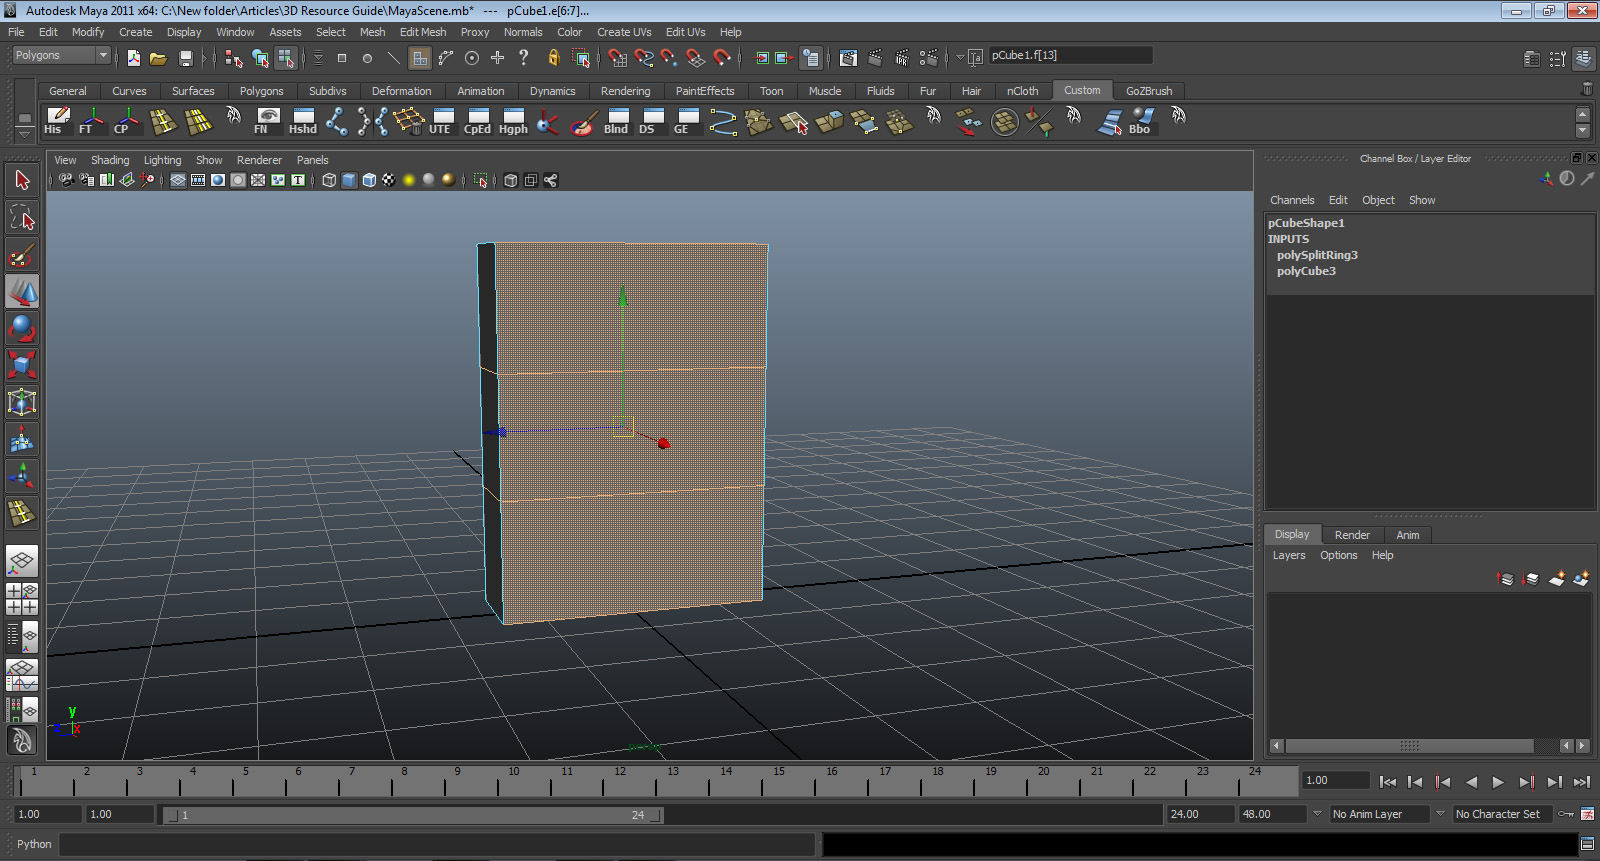
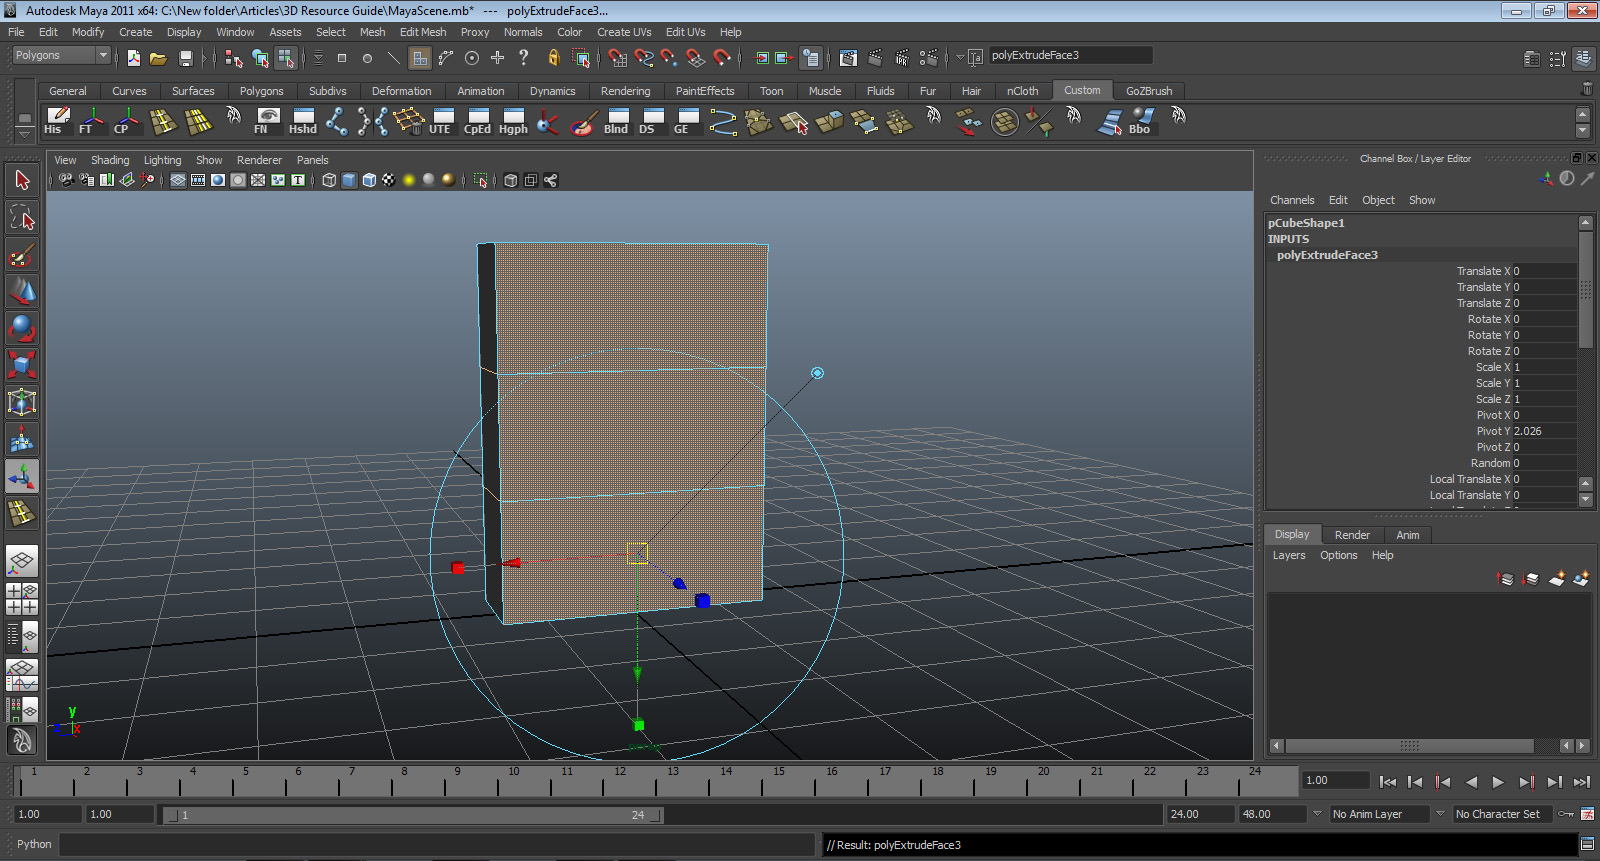
- With those two new edges still selected, press “R”. That will bring up the scale tool. Grab the red square handle and pull it until the edges look like picture below.

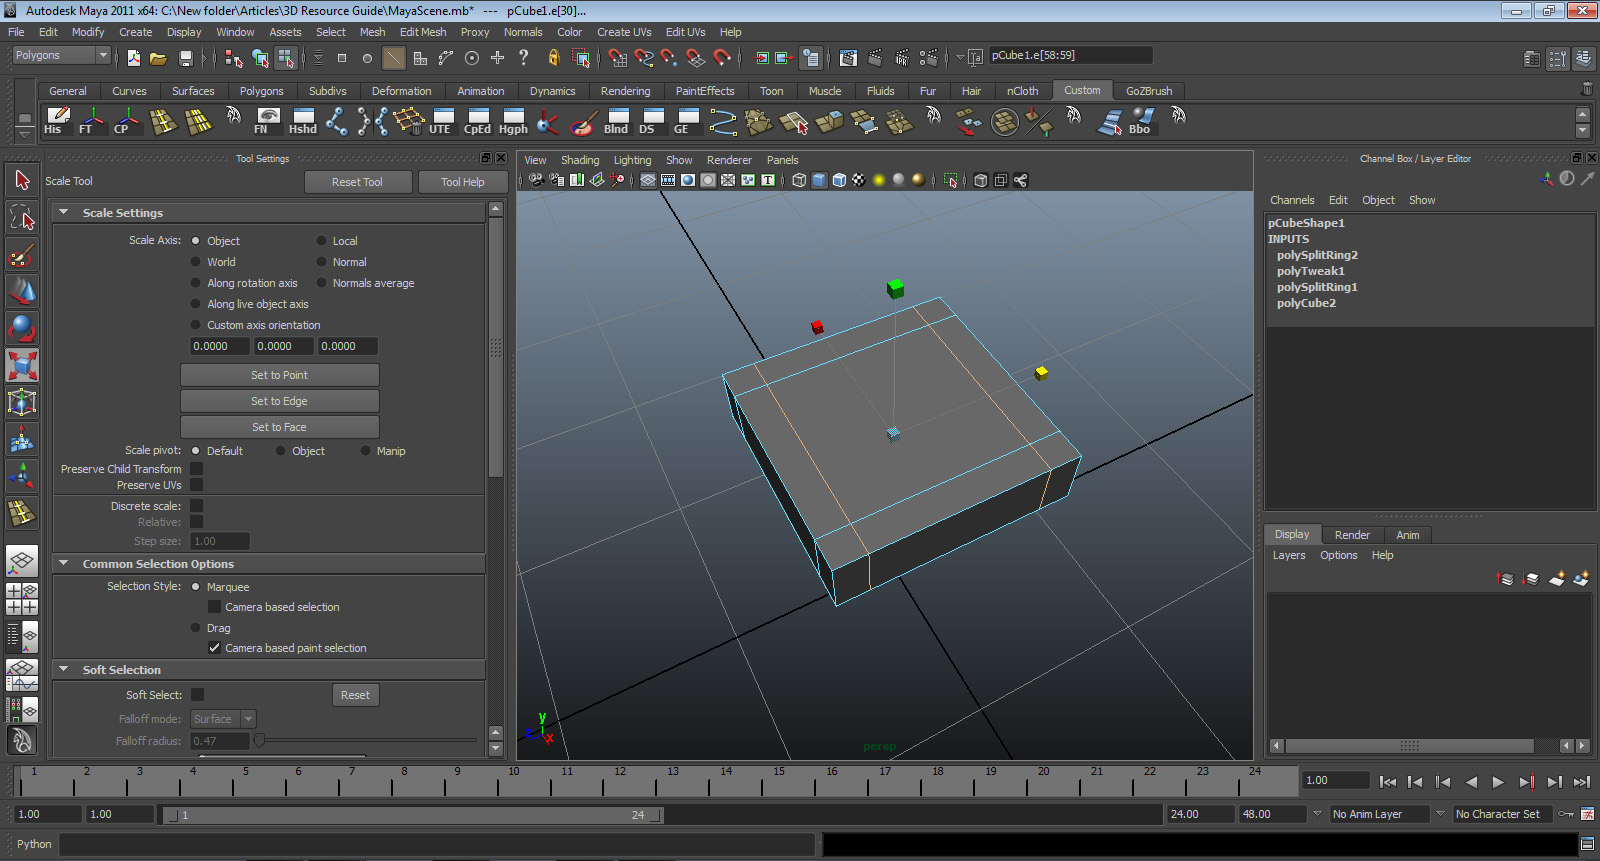
- Now we’ll do the same on the other side. Go back to edit mesh > insert edge loop and select the SQUARE next to insert edge loop. Make sure the settings are still the same, add two edge loops to the opposite side, and scale them using the blue square until they look like the picture below.


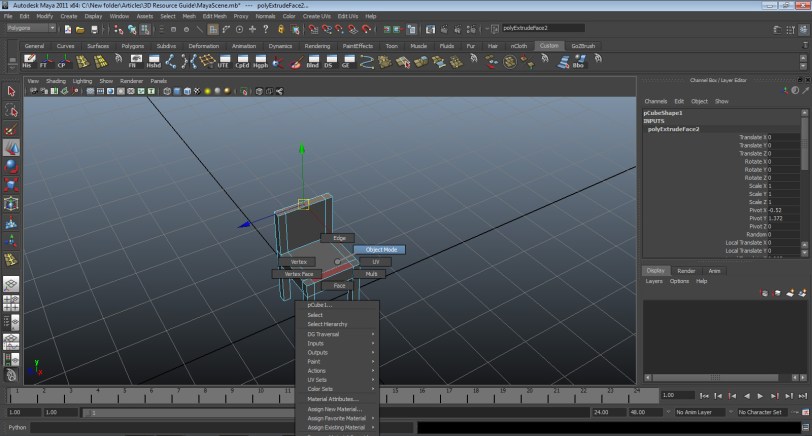
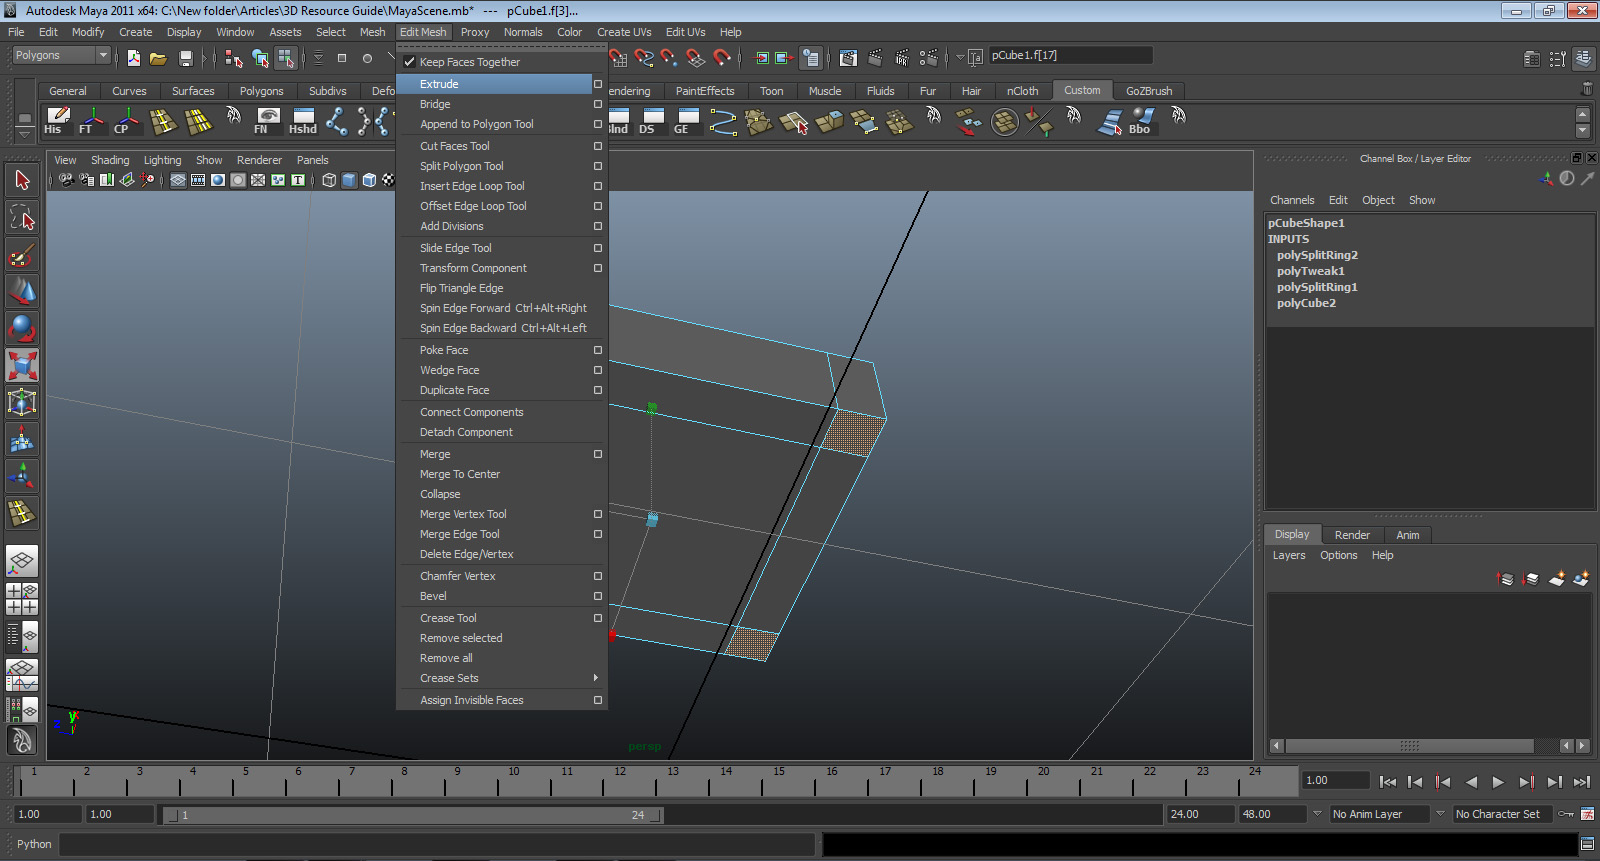
- Go to the underside of the chair. Right click and hold on the cube and select faces. Hold shift and select each corner face.
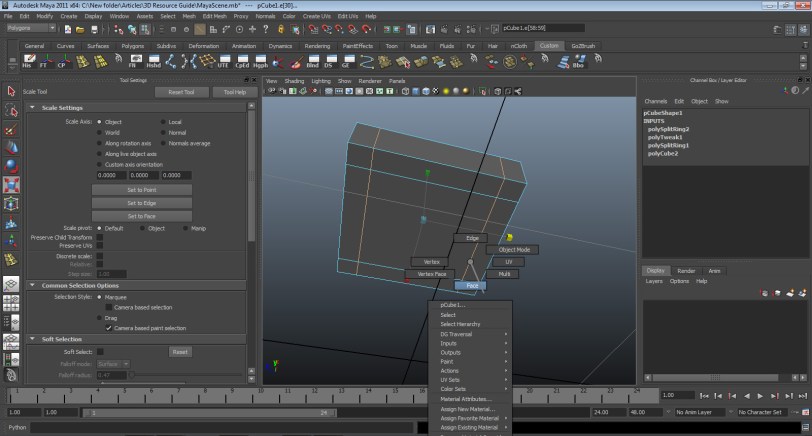
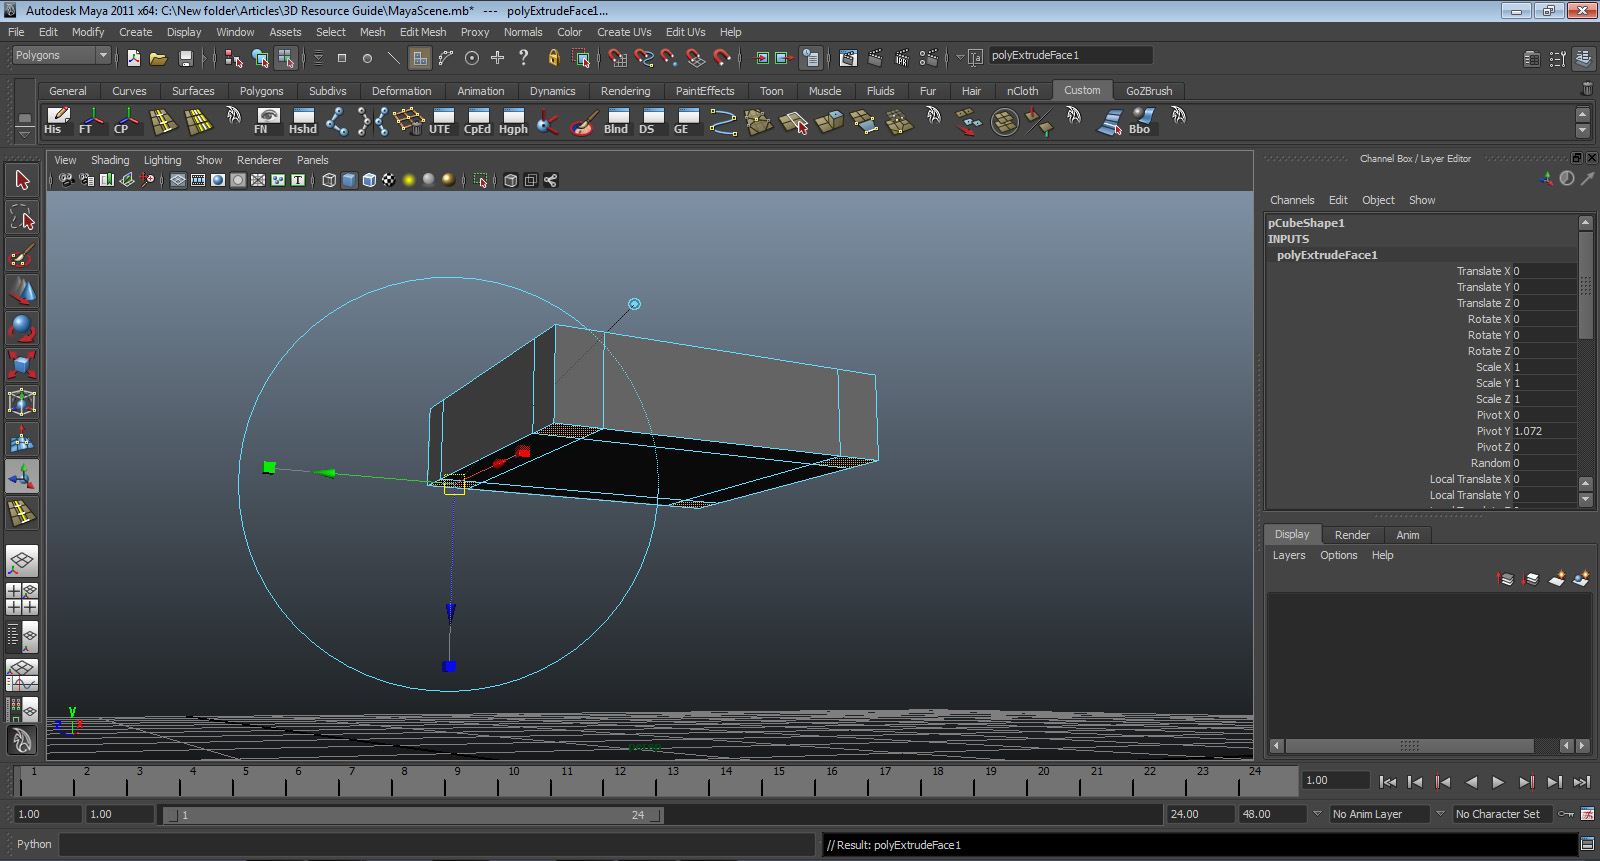
- With the faces still selected, go to the top bar and select edit mesh > extrude. A new handle will show up looking like this. MAKE SURE THOSE FOUR FACES ARE STILL SELECTED. Grab the blue arrow and pull down.


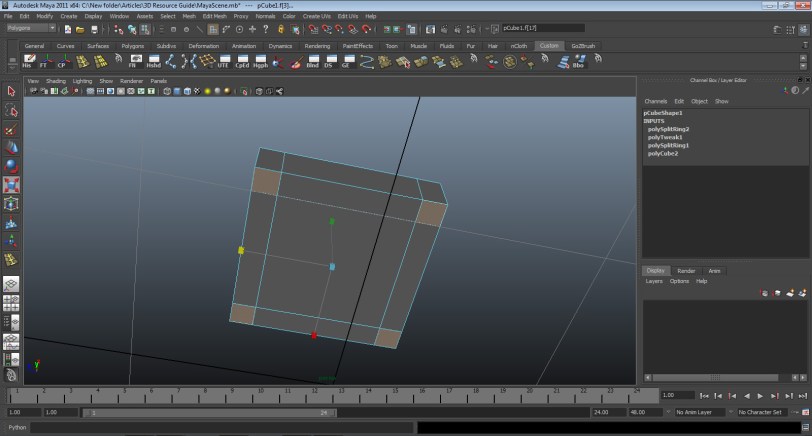
- Press W to get out of the tool. Go to the top right, click and hold, and select face. Select the back three faces, as shown in the picture below.
- Go to the top bar. Go to edit mesh > extrude. Grab the blue arrow and pull those faces up.

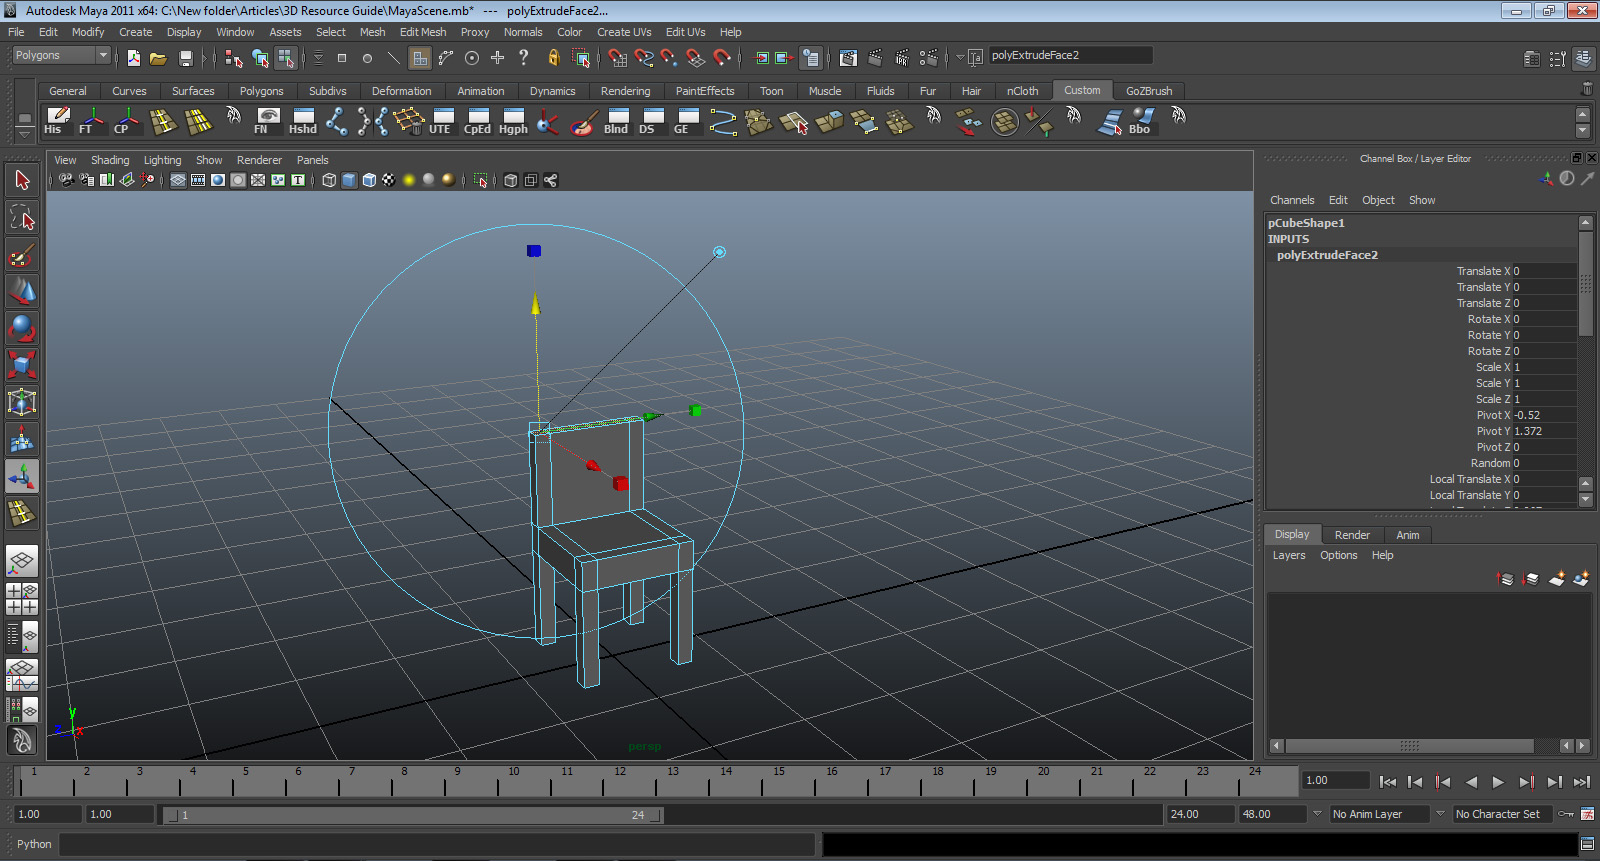
- Right click and hold and select object. Everything will be deselected. Now you have a chair!

- Let’s do one last step before we hide the chair. Select the chair. Go to the channel box, double click its name, and rename the box as “chair.” Now press CTRL+H to hide the chair.

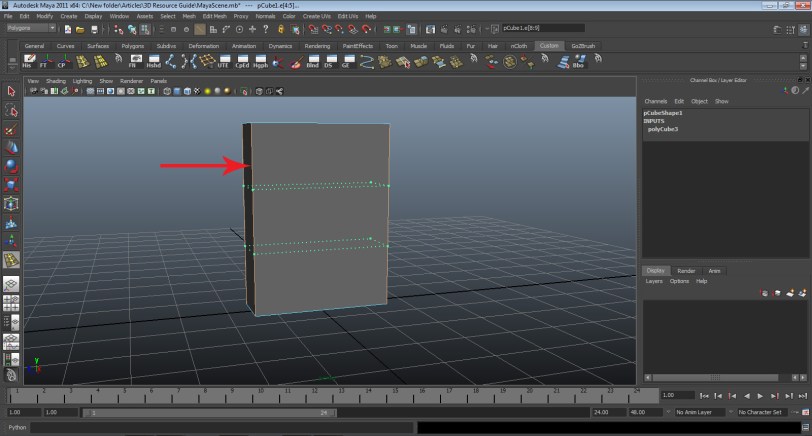
- We’re going to make one last furniture piece, a shelf. Go to create > polygon primitives > cube. Go to the channel box, go to the scale values, and type x: 1, y: 4, z: 3. Now press “W” to get the translate tool and move the shelf up so it’s not clipping the grid.

- Now go to the top bar and edit mesh > insert edge loop. No need to select the box; it will remember our settings.

- Select the front vertical edges as follows. It should look like this:
- Press “W” to get out of the tool. With the edges inserted, right click and hold and select face. Hold shift and select the front three faces.
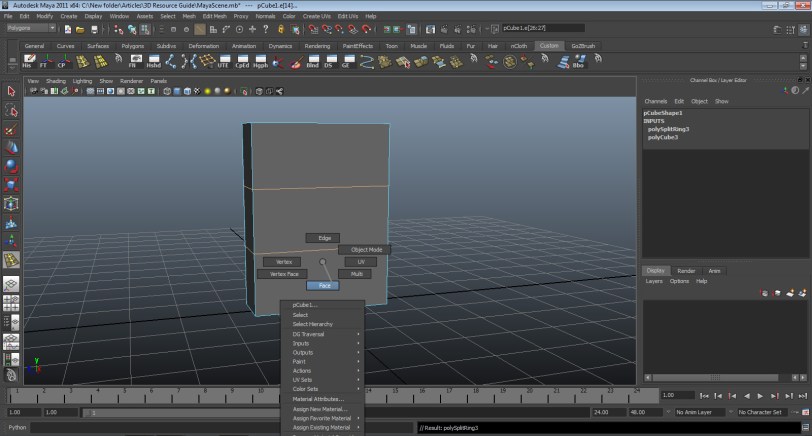

- Go to edit mesh > uncheck “Keep faces together.”

- With the three faces still selected, go to edit mesh > extrude. The extrude tool will appear.

- First select the red square, (which is the scale tool) and scale the faces in until they look like this:
 Then select the green square and scale them until the faces look like this:
- With those faces still selected, go back to edit mesh > extrude. Grab the BLUE ARROW and move the faces in.
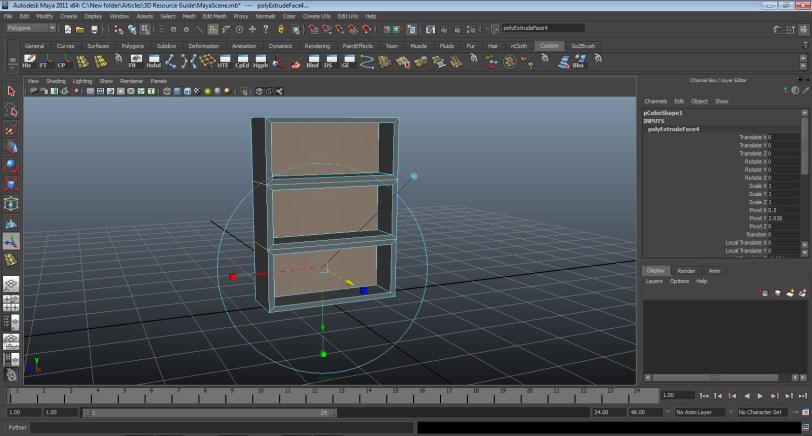
- Press “W,” right click and hold, and select object mode. Now you have a shelf!

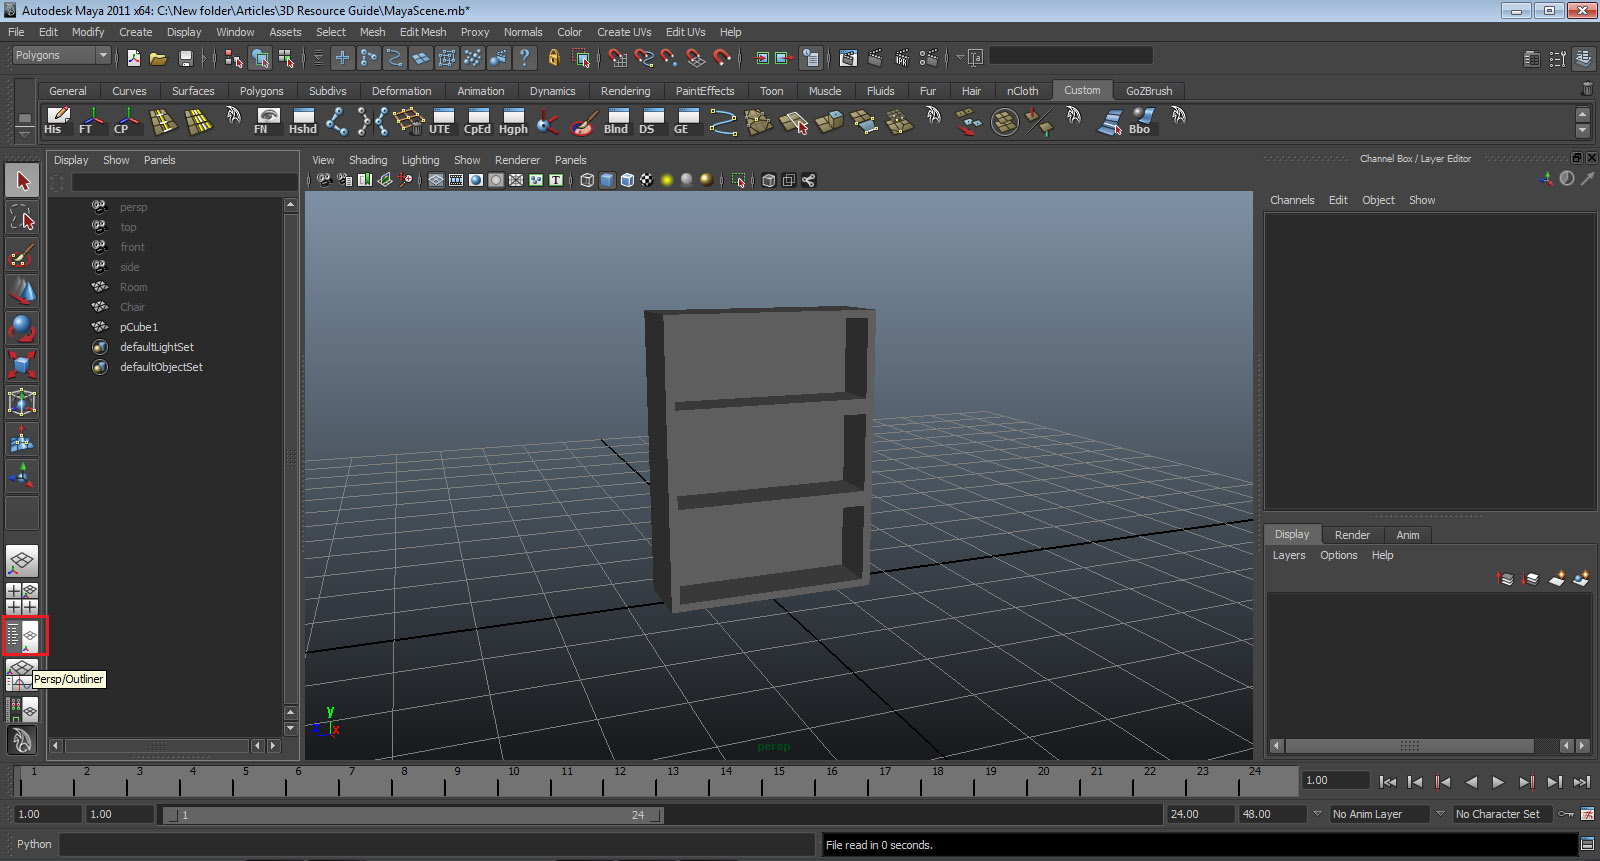
- Let’s bring the other pieces back. Go to the left head bar, and on the bottom select the outliner/perspective view. This opens up the outliner.
 The outliner shows all objects in your scene.
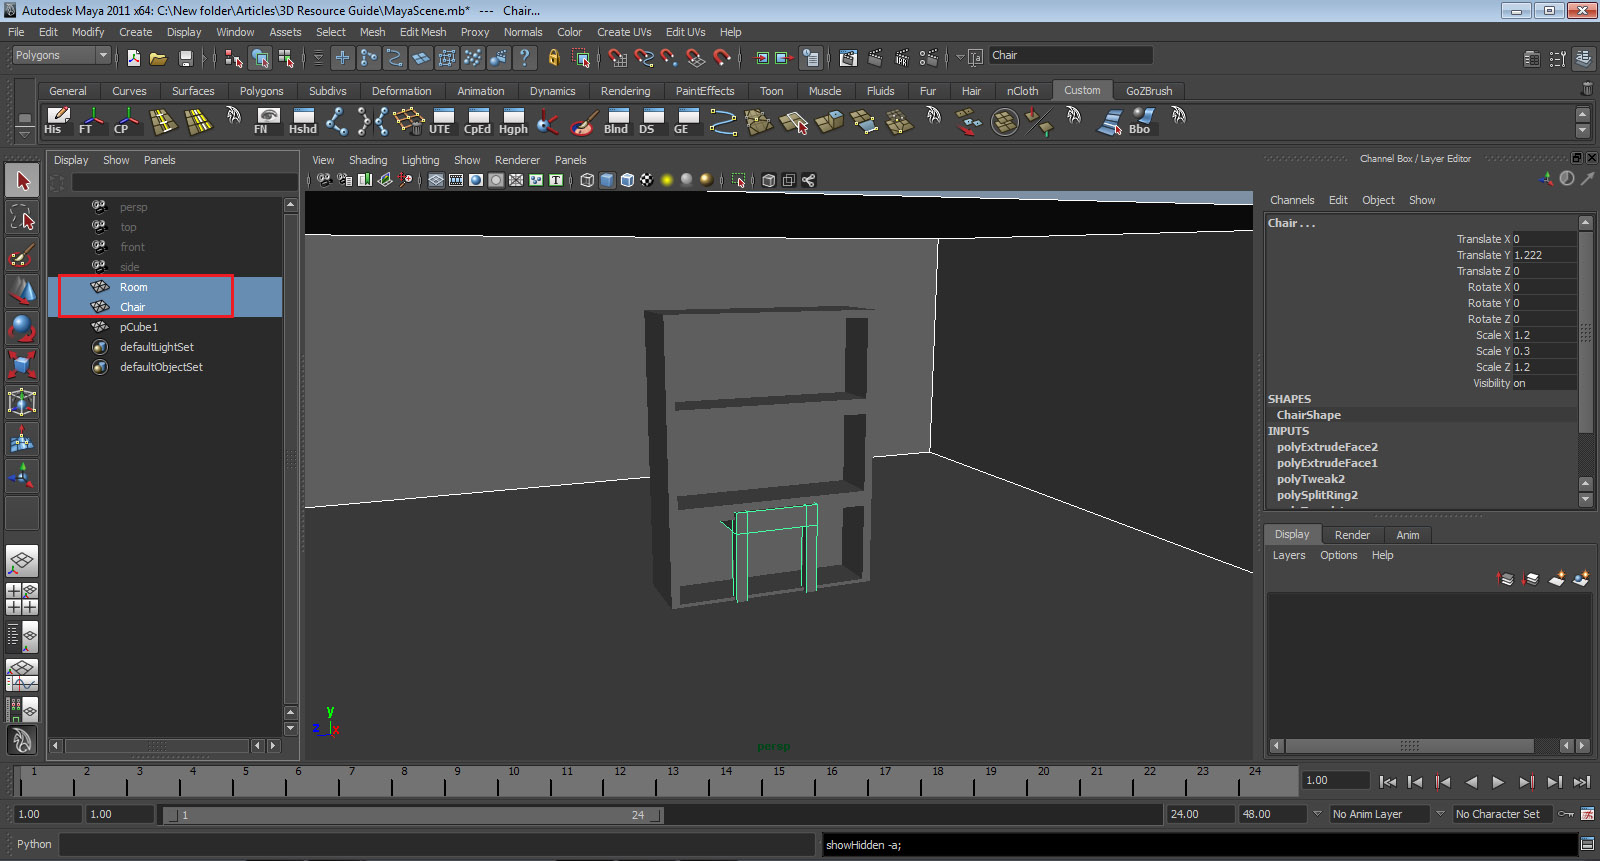
 - Select both the Room and Chair, then press SHIFT+H. This un-hides the previously hidden objects.
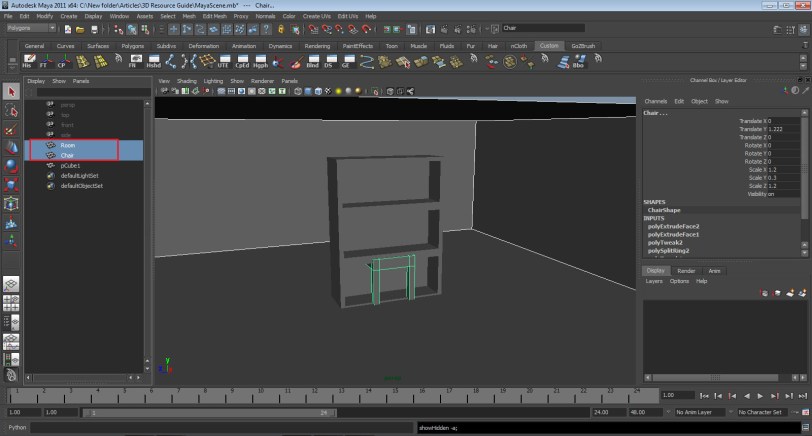
- Now you can select your objects and arrange them how you want! (Press “W” to translate, “E” to rotate)


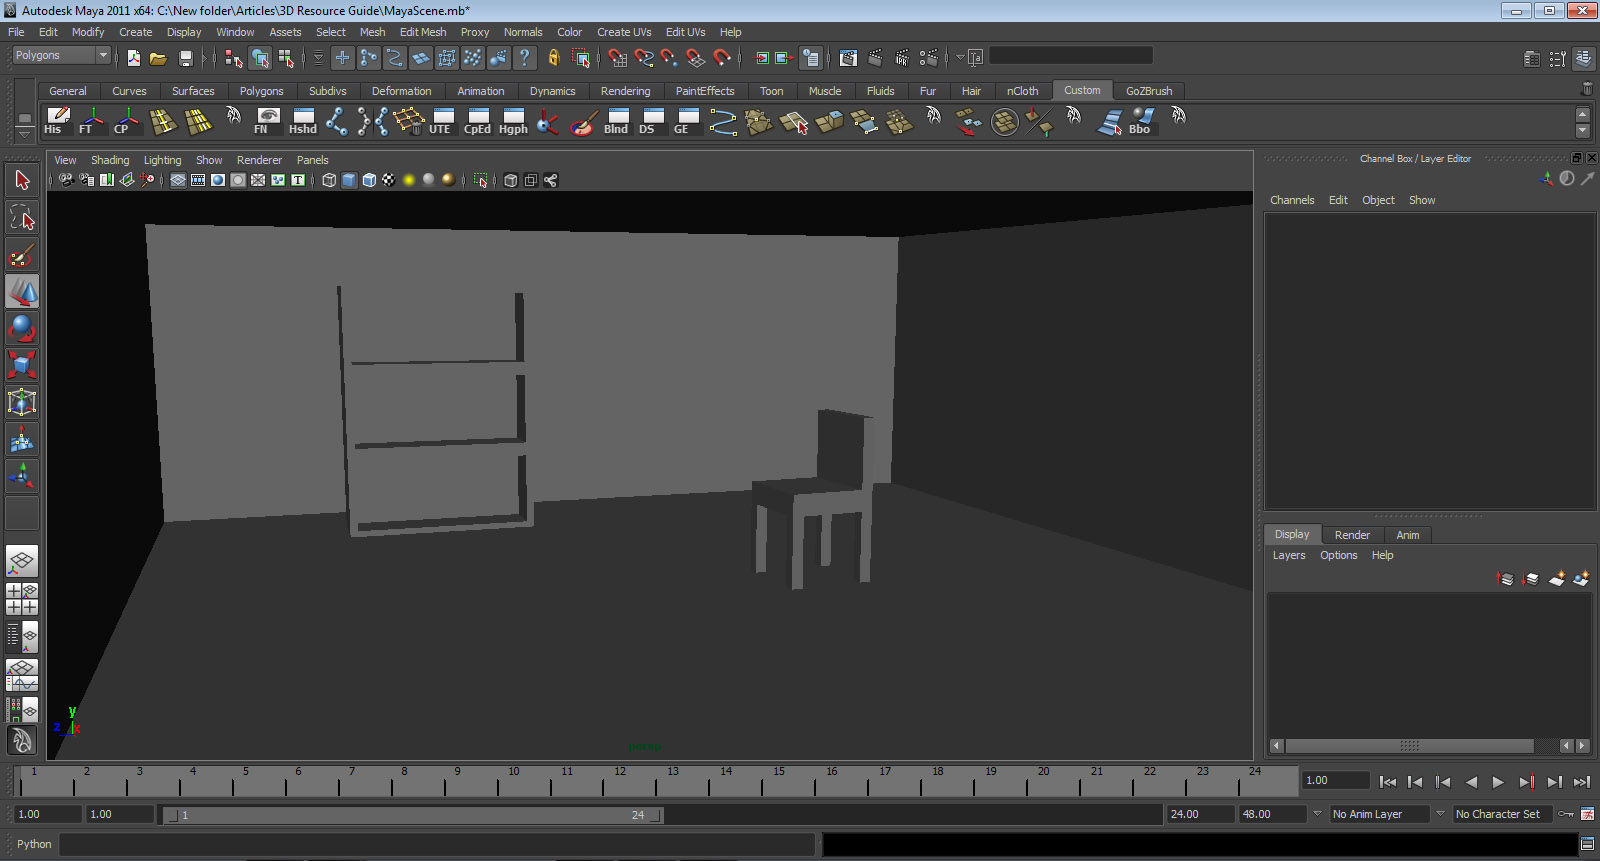
What other furniture can you make? Go ahead and populate your scene!

That’s all for modeling, folks! Stay tuned for part three, which is all about texturing.
